
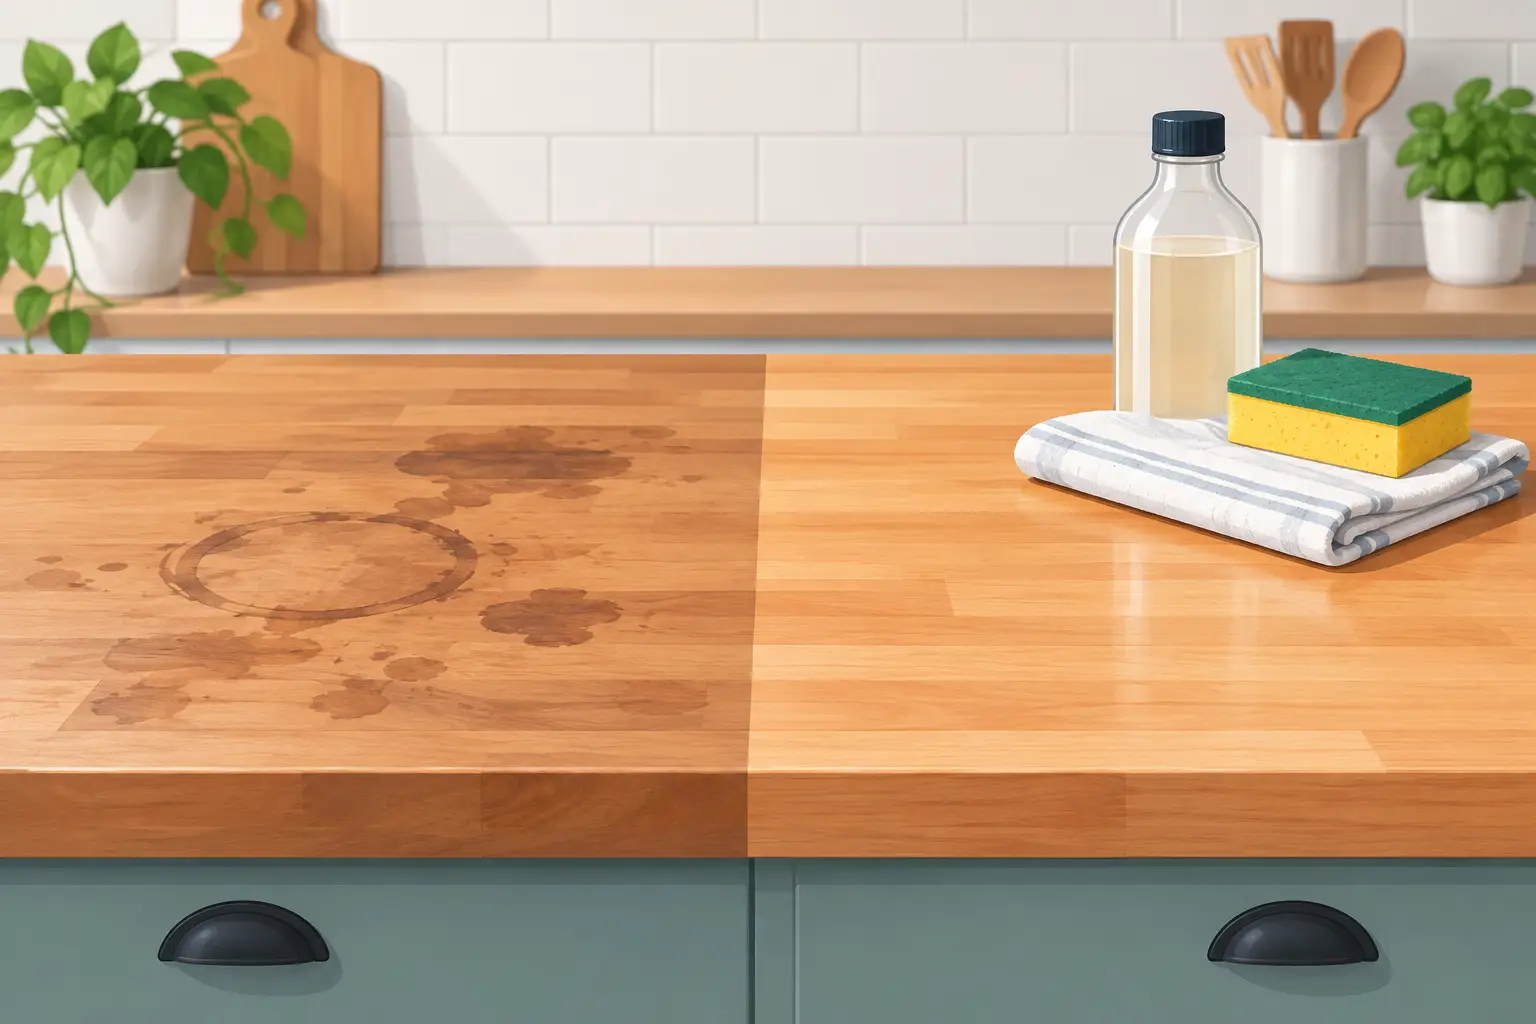
A butcher block stain can make an otherwise beautiful kitchen surface feel worn out fast. The good news is that solid wood is forgiving. Unlike laminate or stone, you can often remove stains from butcher block by cleaning, treating, or lightly sanding the affected area, then restoring the protective finish.
The right method depends on what caused the mark and how your butcher block is finished. A dark water spot, a greasy cooking stain, and a burn mark may all look similar at first, but they need different treatment. Start gently, work with the grain, and avoid shortcuts that create a larger problem than the stain itself.
First, Identify the Finish and the Stain
Before reaching for a cleaner, determine whether your butcher block has an oil finish or a sealed surface finish. Cutting boards and food-prep tops are commonly maintained with food-safe mineral oil and board wax. Many countertops, tables, and island tops are protected with a film-forming finish such as polyurethane, hardwax oil, or another furniture-grade coating.
An oiled surface absorbs moisture more readily and can usually be spot-sanded and re-oiled without much trouble. A sealed countertop may have a stain in the finish itself rather than in the wood. If the finish is intact, aggressive sanding can leave a dull patch or expose bare wood around the damaged area.
Look closely at the mark. Pale or cloudy rings usually point to moisture. Black, blue-gray, or brown marks are often caused by water reacting with natural tannins in the wood, especially around metal cans, wet cast-iron cookware, or a forgotten damp cloth. Dark grease spots tend to have softer edges. Burns feel rough or depressed when you run a fingertip across them.
Start With the Least Aggressive Cleaning Method
Wipe loose debris away with a soft, dry cloth. Then clean the stained area using a small amount of mild dish soap mixed with warm water. Use a damp cloth, not a dripping one, and wipe dry immediately. Let the wood air-dry completely before deciding whether more treatment is needed.
Do not soak butcher block or leave a wet towel on it while you work. Standing water can travel into end grain, seams, and unfinished edges, where it may cause swelling or encourage a stain to spread.
Avoid chlorine bleach, oven cleaner, abrasive scouring powders, and all-purpose sprays that are not intended for wood. These products can strip oil, discolor the grain, weaken glue joints over time, or leave residues on a food-prep surface. A natural-looking countertop deserves practical care, not a harsh chemical experiment.
Remove Light Water Stains From Butcher Block
For a light white ring or cloudy spot on an oiled butcher block, begin with a very fine sanding pad or 220-grit sandpaper. Sand lightly with the grain, using only enough pressure to blend the affected area. Wipe away the dust with a clean, dry cloth.
If the spot remains, sand a slightly wider area rather than concentrating on one small circle. This prevents a noticeable dip in the surface. Once the cloudiness is gone, apply food-safe mineral oil to bare or dry-looking wood. Let it soak in according to the product directions, wipe away excess, and add a second coat if the wood still looks thirsty.
For sealed countertops, a white mark may be trapped moisture in the topcoat. Give it time first. In some cases, the cloudiness fades as the surface fully dries. If it does not, the repair may require lightly sanding and refinishing the entire affected section so the sheen remains even.
Treat Dark Water and Tannin Stains Carefully
Dark stains are more stubborn because they often sit below the surface. Start with a small, inconspicuous test area. On unfinished or oil-finished wood, 3% hydrogen peroxide can sometimes lighten a dark water stain. Dampen a white paper towel with peroxide, lay it over the mark, and cover it loosely with plastic wrap for a short period so it does not dry out immediately.
Check the wood after 15 to 30 minutes. Remove the towel, wipe the area dry, and allow it to dry fully before judging the color. Peroxide can lighten surrounding wood if left too long, so repeat in short sessions rather than applying one long treatment.
If a black stain remains after cleaning and light sanding, oxalic acid wood bleach may be the better repair. This is a specialty woodworking treatment for tannin and iron stains, not ordinary household bleach. Follow the manufacturer’s safety and mixing instructions exactly, wear gloves and eye protection, and neutralize or rinse only as directed. Let the wood dry thoroughly before sanding lightly and restoring the finish.
For a countertop with a durable clear coat, deep black marks may require removing the finish in that section before the wood can be treated. If the stain is near a seam, sink cutout, or edge detail, consider asking a woodworker for help rather than risking water damage in a vulnerable area.
Lift Grease, Food, and Color Stains
Grease stains can be difficult because oil travels into porous wood fibers. If the surface is unfinished or maintained with oil, cover the spot with baking soda or cornstarch and leave it for several hours to draw up surface oil. Vacuum or brush the powder away, then wipe gently with a barely damp cloth and dry the area.
For lingering grease, light sanding is usually more reliable than adding stronger cleaners. Begin with 150- or 180-grit sandpaper, always following the grain. Feather the sanding beyond the stain so the repaired area blends naturally. Move to 220 grit for a smooth final pass.
Food coloring, wine, berry juice, and turmeric can leave pigments behind even after the liquid is gone. Clean the surface first, then sand only as much as needed. Strongly colored stains may fade substantially without disappearing completely, particularly in woods with open grain. That small bit of character is often preferable to over-sanding a handmade surface.
Sand Burn Marks Without Creating a Low Spot
A shallow burn can usually be repaired, but patience matters. Start with 120- or 150-grit paper for a surface scorch, then progress to 180 and 220 grit. Sand in long strokes with the grain, extending beyond the burn by several inches.
Check your progress often. If you only sand the center of the mark, you can create a shallow bowl that catches the light. The goal is a flat, even surface, not simply a stain-free dot. Deep burns that have penetrated far into the wood may not sand out completely without changing the countertop’s thickness or profile. In that case, reducing the contrast and refinishing the area is often the sensible choice.
Restore the Finish After Stain Removal
Sanding opens fresh wood fibers, so the repair is not complete until the surface is protected again. For cutting boards and butcher block used for food preparation, use food-safe mineral oil. Apply it generously, allow it to absorb, then wipe off excess. A board wax can be applied afterward for added water resistance and a smooth feel.
For a sealed countertop or table, match the existing finish as closely as possible. Oil, hardwax oil, polyurethane, and conversion finishes all build and reflect light differently. A spot repair can look obvious if the sheen does not match, which is why a larger blended repair area may be necessary on a visible island top or dining table.
At Tooill Cabinets, we build solid wood surfaces to be used and enjoyed, not treated like museum pieces. Regular maintenance gives a custom butcher block the best chance to age gracefully through everyday meals, projects, and family gatherings.
Keep New Stains From Settling In
Use trivets under hot pans, wipe spills promptly, and never leave wet metal cookware, cans, or dish towels directly on the wood. Keep a cutting board near the sink for messy prep work, even if your countertop is built from butcher block. It reduces wear in the spots that see the most water and knife contact.
Oil-finished butcher block should be refreshed whenever it looks dry or water stops beading on the surface. The schedule varies with use, humidity, and wood species, but a kitchen work surface generally needs more attention than a decorative shelf or table. A few minutes of care now can keep a minor spill from becoming a sanding project later.
Wood is meant to show a life well lived, but it should not have to carry every accident forever. Treat stains early, use the least aggressive repair that works, and restore the finish with the same care that went into making the surface.