
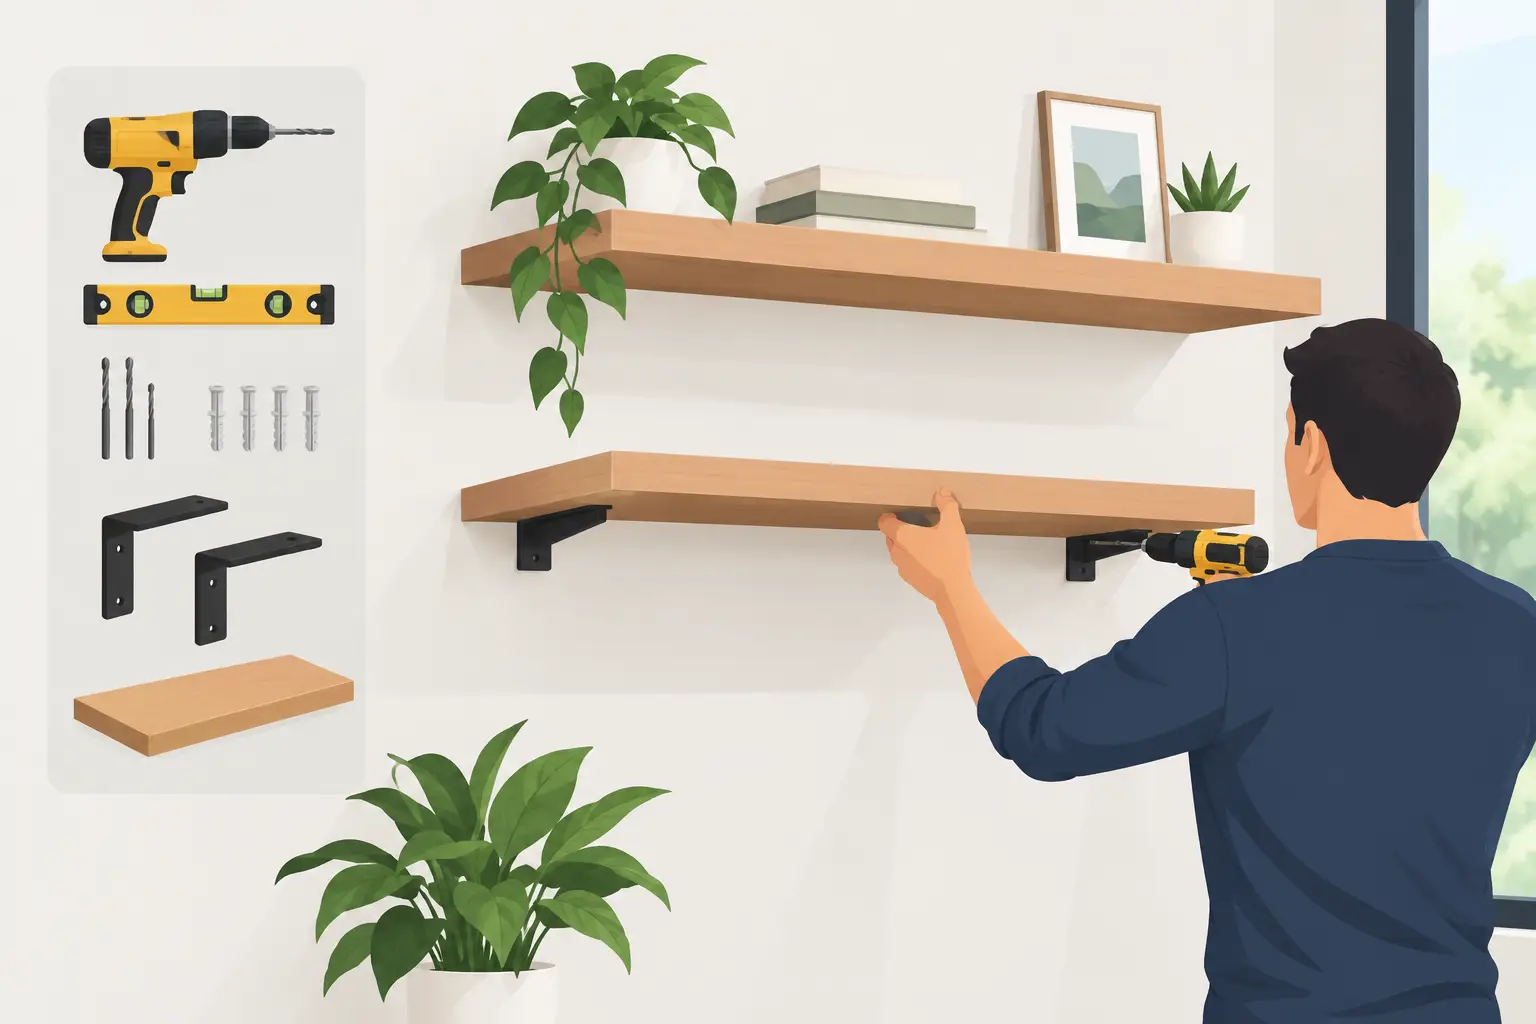
A floating shelf looks simple once it is on the wall. The work that makes it look effortless happens behind the wood: choosing hardware that matches the shelf and its intended load, finding solid framing, and taking the time to mount everything level. This guide to floating shelf installation walks through those decisions so a handcrafted wood shelf feels secure, useful, and properly finished from day one.
A well-made solid wood shelf deserves better than guesswork and a pair of light-duty drywall anchors. Whether you are styling a kitchen wall with everyday dishes, adding storage above a desk, or creating a warm display in a living room, the wall connection is every bit as important as the wood itself.
Start With the Shelf, the Wall, and the Load
Before picking up a drill, decide what the shelf will actually hold. A narrow shelf carrying framed photos has very different hardware needs than a deep walnut shelf holding cookbooks, stoneware, or small appliances. Shelf depth also matters. The farther weight sits from the wall, the more leverage it puts on the mounting hardware.
Measure the shelf’s length, depth, and thickness, then account for the shelf’s own weight. Solid hardwood is substantially heavier than hollow decorative shelving, which is part of what gives it such a substantial feel. The same qualities that make a custom wood shelf durable also mean its mounting system needs a solid plan.
Next, identify the wall construction. Most interior walls use wood studs behind drywall, typically spaced 16 or 24 inches on center. Stud-mounted installation is the preferred method for heavier shelves. Masonry, concrete, metal studs, plaster, and tile can all be workable, but they require hardware and methods designed for that specific material.
If you rent, have older plaster walls, or are not certain what is behind the surface, slow down before drilling. A few extra minutes spent confirming the wall construction can prevent repairs that cost more than the shelf installation.
Choose the Right Floating Shelf Hardware
True floating shelves conceal the support system inside the shelf. Common systems include steel rods that slide into drilled holes in the back of the shelf, hidden bracket plates with projecting rods, and routed cleats that lock the shelf onto a concealed wall-mounted support. Each can work well when the shelf is built for that exact mounting method.
The important point is compatibility. Do not assume a generic bracket will fit a shelf that was made for another system. Rod diameter, rod spacing, insertion depth, shelf thickness, and the placement of internal drilling all affect strength and fit. A shelf built with precision-drilled mounting holes should be paired with its supplied or specified hardware.
For a custom piece, confirm four details before installation: the hardware layout, the maximum recommended load, the required wall fasteners, and whether the shelf needs to be secured with set screws after it slides into place. Keeping those specifications with the shelf is useful, especially if it is ever moved to another room.
Avoid treating drywall anchors as a substitute for studs on a heavy solid wood shelf. Some toggle-style anchors are rated for meaningful loads, but published ratings can be misleading because shelf loads pull outward as well as downward. When studs are unavailable, use an anchor system approved for the wall material and the bracket design, and reduce the expected load accordingly.
A note on shelf depth and leverage
A shallow 6-inch display shelf is generally easier to support than a 12-inch kitchen shelf loaded with dishes. This does not mean deeper shelves are a bad choice. It means the hidden hardware needs longer, stronger support and the installation needs more secure attachment points. Design and function should be decided together.
Tools That Make the Job Go Smoothly
You do not need a full woodworking shop to install a floating shelf, but accurate tools matter. Gather a stud finder, pencil, tape measure, level, drill and drill bits, driver bit, appropriate screws or masonry fasteners, and painter’s tape. A small socket set or Allen wrench may also be needed for set screws.
A quality level is worth using. Phone level apps can be helpful for a quick reference, but they should not be the final word on a shelf that will live on the wall for years. If you are mounting several shelves, a laser level makes it much easier to keep their top edges aligned.
Painter’s tape is handy for marking the wall without leaving a mess. It can also catch dust beneath a drilling point or help prevent a drill bit from wandering on slick tile. For tile, use a tile or glass bit at a slow speed and do not use hammer-drill mode unless the bit and substrate call for it.
How to Install Floating Shelves Securely
Mark the final height first
Hold the shelf in the intended location and step back. Check it against cabinet lines, backsplash edges, furniture, outlet covers, and sightlines from the room entrance. In a kitchen, leave enough room between a countertop and shelf to comfortably use what is below it. Over a desk or console, make sure the shelf will not interfere with lamps, art, or seated head clearance.
Once the position feels right, use the level to mark a light horizontal reference line. Measure from the floor, countertop, or ceiling at more than one point. Many floors and ceilings are not perfectly level, so choose the visual relationship that matters most. A shelf that follows a crooked ceiling may look wrong; a shelf that is level will usually look intentional.
Find and verify the studs
Run a stud finder across the installation area and mark both edges of each likely stud. The center point between those marks is usually where you want to drive the screw. Verify with a small pilot hole in a concealed area if there is any doubt.
Be alert for electrical wiring and plumbing. Outlets and switches can indicate wiring paths, while kitchens and bathrooms may have pipes in unexpected locations. If the wall location is uncertain, use a non-contact voltage detector and consider professional help. Never force a long screw into a wall when you encounter unexplained resistance.
Transfer the bracket locations accurately
Use the supplied bracket or mounting plate as a template. Align it with your level line, then mark every fastener hole and rod location. Measure these marks against the shelf itself before drilling. A hidden bracket has very little tolerance for a mounting plate that is shifted even slightly.
For bracket systems designed to hit studs, position the plate so as many mounting holes as possible land in stud centers. Pre-drill pilot holes sized for the screws specified by the hardware manufacturer. Pilot holes reduce the chance of splitting a stud and help screws drive straight.
If the shelf requires anchors at some locations, install the anchors only after the bracket layout is confirmed. Do not mix random hardware from a leftover bin. Use fasteners with the correct diameter, length, and load rating for the bracket and wall material.
Mount the hardware, then test it
Fasten the bracket to the wall, checking level as you tighten. Tighten screws firmly, but do not overdrive them to the point that the bracket bends, drywall crushes, or threads strip in the stud. The bracket should sit flat with no rocking or visible gap.
Before sliding the shelf on, pull gently downward and outward on the installed hardware. It should feel immovable. This is the right moment to correct a problem, not after the shelf is loaded with dishes or decor.
Slide the shelf onto the rods or cleat carefully. A snug fit is normal, especially with handcrafted solid wood. Do not hammer the shelf into place. If it will not seat fully, remove it and inspect the alignment, debris in the mounting holes, and the bracket position. Forcing it can damage the wood or bend the hardware.
If your system includes set screws, tighten them from underneath after the shelf is fully seated. These small screws help prevent the shelf from lifting or sliding away from the wall. Use only enough pressure to secure the shelf without crushing wood fibers around the screw point.
Keep Solid Wood Looking Its Best
Once mounted, load the shelf gradually. Start with a few representative items and look for any movement, sagging, or gap opening at the wall. A properly installed shelf should remain level and stable.
Solid wood responds to seasonal humidity changes, which is normal. In most homes, that movement is minor, but it is one reason handcrafted shelves need thoughtfully designed hardware and a proper fit. Keep shelves away from repeated soaking, and wipe up water promptly in kitchen or bath settings.
For routine care, dust with a soft cloth and use a lightly damp cloth for small spills, then dry the surface. Avoid harsh cleaners and abrasive pads that can dull or damage a finish. If a shelf is mounted near a range, expect occasional grease buildup and clean it gently rather than letting residue sit.
Tooill Cabinets builds made-to-order wood pieces because dimensions, wood character, and real-world use matter. A shelf that fits the space correctly and is installed with the right support becomes more than wall decor – it becomes a dependable part of the room.
Take the last few minutes to check the level, tighten any accessible set screws, and make sure the shelf feels as solid as it looks. That careful finish is what lets good woodwork earn its place in a home for years.