
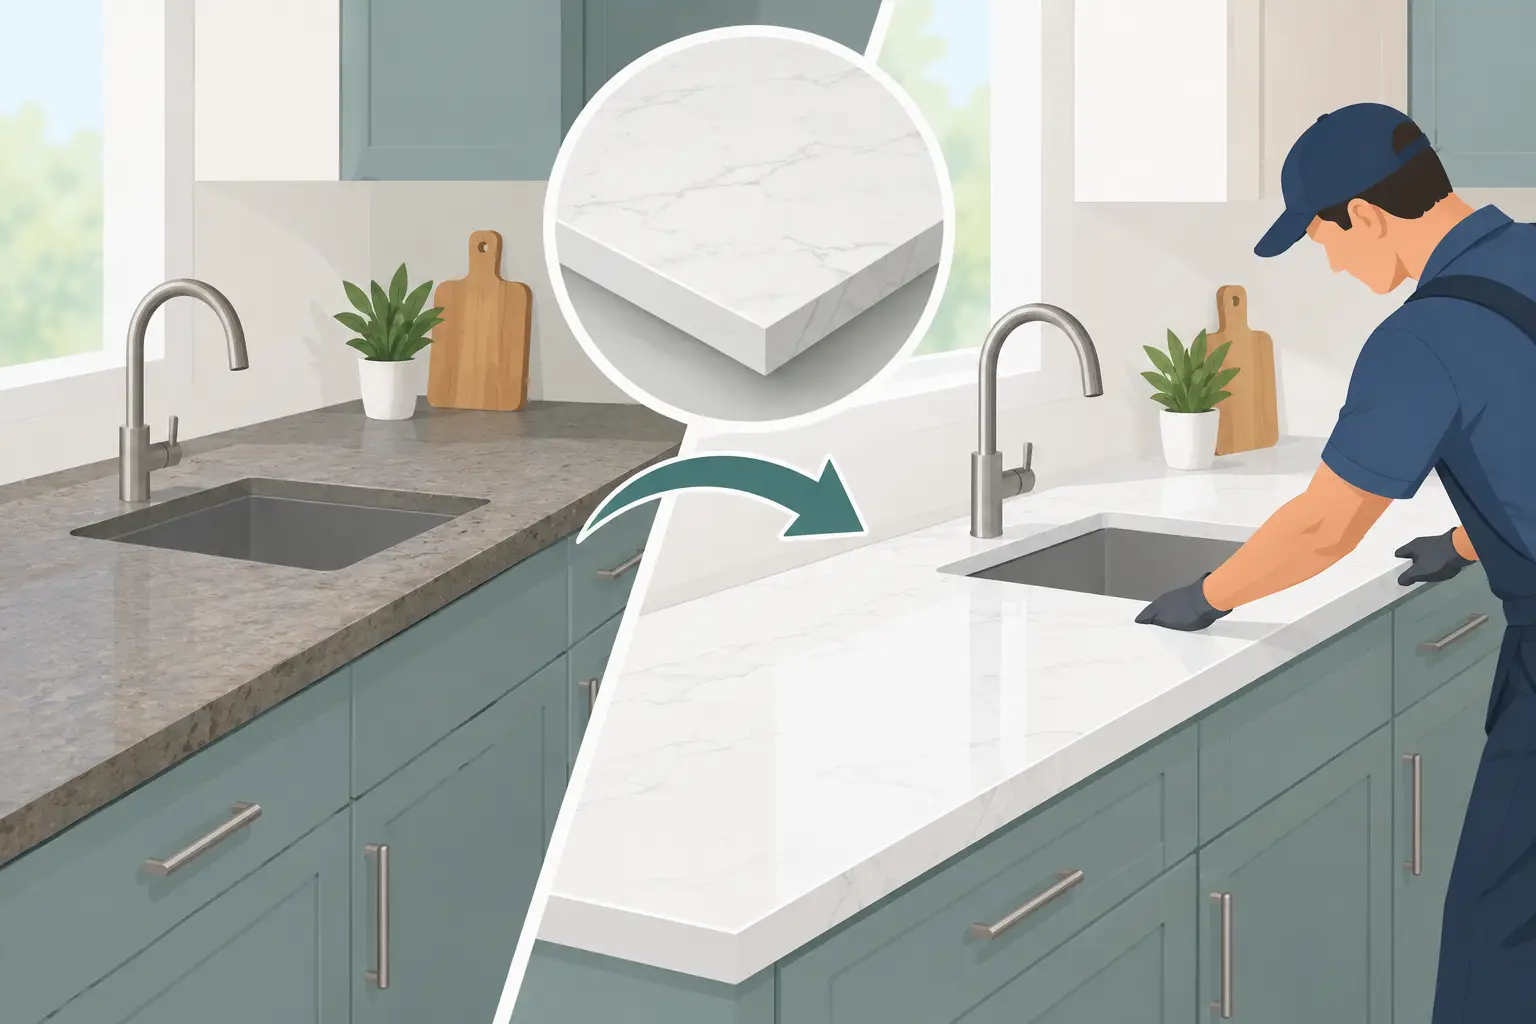
A countertop replacement example is most useful when it shows the decisions behind the finished look, not just a before-and-after photo. Replacing a worn laminate top with a solid wood surface can change the feel of a kitchen, laundry room, coffee bar, or island in a single project. But the best result comes from getting the measurements, wood species, finish, and installation plan right before the new top is built.
Here is a realistic look at how a custom butcher block countertop replacement can come together, where homeowners commonly run into trouble, and what makes a made-to-order wood top worth the planning.
A Countertop Replacement Example: From Dated to Custom
Picture a homeowner updating a 72-inch-wide base cabinet run in a kitchen nook. The existing countertop is a thin, post-form laminate surface with a built-in backsplash. It has swollen near the sink, chipped along the front edge, and never matched the warm wood floors in the room.
The goal is not a full kitchen renovation. The cabinets are structurally sound, the layout works, and the homeowner wants a surface with more character than another off-the-shelf laminate top. They choose a custom maple butcher block countertop with a natural, food-safe hardwax oil finish.
The finished top is built at 73 1/4 inches wide by 25 inches deep and 1 1/2 inches thick. That extra width gives the top a modest overhang at both ends, while the depth allows for a clean front overhang without leaving a gap against the wall. The builder also makes an allowance for the wall being slightly out of square, which is common in real homes, especially in older kitchens.
Once installed, the maple surface brings a clean, natural contrast to painted cabinets. It is strong enough for everyday prep work, warm to the touch, and distinctive without taking over the entire room. That is the appeal of a well-planned countertop replacement: it solves a practical problem while making the space feel more personal.
Start With the Cabinet Base, Not the Old Countertop
A replacement project should begin with the cabinet boxes and the wall conditions. The old top may have been cut unevenly, installed over shims, or built with an oversized backsplash that hides gaps. Measuring the old countertop alone can repeat those mistakes.
Remove the old surface first when possible, then measure the cabinet run at the front, center, and back. Record the shortest and longest dimensions. Measure the depth from the finished wall to the cabinet face, then decide how much front overhang you want. For many standard base cabinets, an overhang around 1 to 1 1/2 inches is comfortable and visually balanced.
Walls rarely run perfectly straight. If one end of the countertop meets a side wall, measure that return carefully. A template made from thin cardboard, luan, or strips of scrap material can be a smart move for an unusual corner, angled wall, or built-in space. It gives the fabricator a much clearer picture than one handwritten number.
Also check that the cabinet bases are level, secured together, and supported from below. A solid wood countertop has real weight. It needs a stable foundation, particularly around a dishwasher opening, desk span, or extended island overhang.
Leave Room for Wood Movement
Solid wood expands and contracts with seasonal humidity changes. This is normal, not a defect. A quality installation gives the countertop room to move across its width rather than locking it tightly in every direction.
That usually means using tabletop fasteners, figure-eight fasteners, or elongated screw holes beneath the top. The screws hold the countertop firmly to the cabinets while allowing slight seasonal movement. Caulking a wood top hard against every wall or driving fixed screws through the cabinet rails can cause stress over time.
A custom builder can account for this from the start, but the installer should understand it too. Wood performs beautifully in kitchens when it is treated like wood.
Choosing the Right Wood for the Job
For this example, maple is a practical choice because it is hard, fine-grained, and light enough to keep the nook from feeling heavy. It is not the only good option.
Walnut offers richer chocolate-brown tones and a more dramatic grain pattern. White oak has a timeless look with open grain and works especially well in warm modern, farmhouse, and traditional spaces. Cherry begins with reddish warmth and deepens naturally over time. Each species has its own character, and color variation is part of what makes a real wood surface special.
The right choice depends on how the countertop will be used. A dedicated chopping surface benefits from a renewable food-safe oil finish that can be refreshed as needed. A coffee bar, laundry counter, bathroom vanity, or desk surface may be better served by a more protective finish, depending on expected moisture and wear.
No wood countertop is completely maintenance-free. Standing water around a sink, hot pans placed directly on the surface, and harsh cleaners will shorten the life of any finish. On the other hand, solid wood can be renewed. Minor scratches, water marks, and worn finish areas can often be sanded and refinished rather than forcing a full replacement.
Plan Cutouts Before the Top Is Built
The sink and faucet are the details that can make or break a countertop order. In this countertop replacement example, the homeowner uses an undermount sink, so the sink cutout must be precise and properly sealed. The faucet hole also needs to clear the backsplash area and any cabinet framing below.
A drop-in sink is more forgiving because its rim covers the edge of the opening. An undermount sink creates a cleaner look and makes wiping crumbs into the sink easier, but it calls for careful installation and dependable sealing. With either option, provide the exact sink model or its manufacturer cutout template before fabrication begins.
Think through the less obvious cutouts as well. These may include a cooktop, pop-up outlet, grommet hole, plumbing access, or notch around trim. A countertop can be beautifully built and still become difficult to install if a required detail was left out of the plan.
If you are replacing a top around a range or refrigerator, account for appliance clearance. A thicker butcher block top can change the height relationship between countertops and slide-in appliances. Confirm those measurements before ordering, especially when working with a 1 1/2-inch-thick surface.
Installation Day: Dry Fit First
Before fastening anything down, set the countertop in place and dry fit it. Check the overhang, wall contact, sink opening, and alignment with adjacent appliances. This is the moment to identify a cabinet that needs shimming or a wall that needs a small scribe adjustment.
Once the fit is confirmed, secure the top from underneath with the appropriate hardware. Avoid screwing down through the finished surface. If the countertop meets a wall, use a flexible bead of color-matched or clear silicone after installation to keep debris and incidental moisture out of the gap while still allowing the wood to move.
For a sink area, seal exposed cut edges thoroughly. This is particularly important around an undermount opening, where repeated water exposure is expected. Wipe up standing water, especially during the first few weeks, and follow the finish care instructions provided for the top.
What This Project Costs Beyond the Countertop
The price of the wood top is only one part of the budget. A realistic plan also includes old countertop removal, disposal, sink disconnect and reconnect, possible plumbing adjustments, mounting hardware, and installation labor. If a new sink or faucet is part of the update, those costs belong in the same project budget.
Custom fabrication can cost more upfront than a standard-size big-box countertop, but it removes many compromises. You can order the exact length, depth, thickness, edge profile, wood species, and finish that fit the room. That matters when cabinets are not standard, walls are imperfect, or you want the top to look intentional rather than adapted.
Tooill Cabinets builds handcrafted wood surfaces to customer dimensions, which helps homeowners avoid trying to force a stock panel into a space it was never made for. Good communication before production is every bit as valuable as the wood itself.
A Better Replacement Starts With Honest Expectations
A wood countertop is not the right answer for every household. Someone who wants a surface they can ignore for years may prefer quartz or laminate. Someone who loves natural materials, appreciates a surface that develops character, and is willing to give it basic care will see the value immediately.
The strongest countertop replacement is the one that fits the cabinet base, the room, and the way the household actually lives. Take careful measurements, choose a species and finish that match the use, and plan every cutout before the saw touches the wood. When those details are handled well, the new top will not feel like a patch for an old kitchen. It will feel like it belonged there all along.