
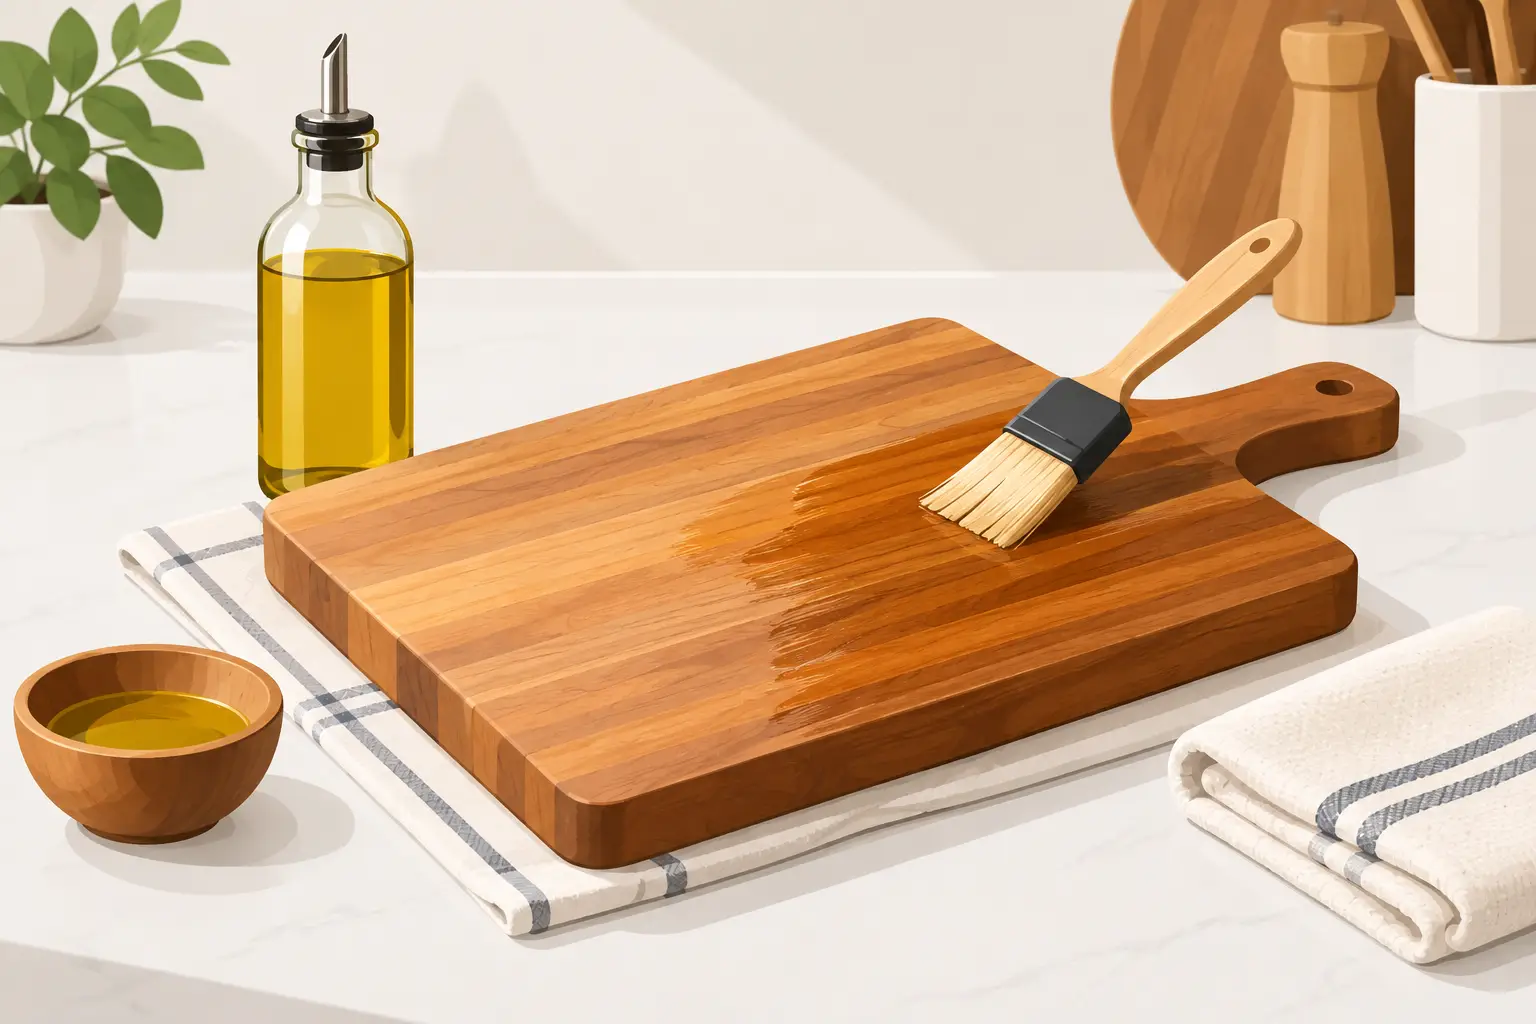
A quality hardwood board earns its place in the kitchen one meal at a time. It takes knife work, catches drips, supports carving jobs, and often stays out on the counter because it looks as good as it performs. Knowing how to oil cutting boards is what keeps that hard-working wood from turning dry, rough, stained, or cracked.
Oil is not just a cosmetic touch-up. It replenishes wood fibers that naturally lose moisture through washing and daily use. A properly maintained board feels smooth under the hand, resists absorbing liquids, and holds up better through years of chopping, slicing, and serving.
Why Oil Cutting Boards Regularly?
Wood is a natural material, and it responds to changes in moisture. Repeated washing pulls moisture from the surface. Dry indoor heat, direct sun, and a spot near the stove can speed up the process. When a board gets too dry, the grain may feel fuzzy, the color can look faded, and small splits may begin around the edges or end grain.
Food-safe board oil soaks into the wood rather than sitting on top like a paint or polyurethane finish. That matters because a cutting board needs to be renewed over time, not sealed behind a hard coating that can chip under a knife. Oil helps slow down water absorption and brings out the natural depth of hardwood species such as maple, walnut, cherry, and oak.
It does have limits. Oil will not make a board waterproof, and it cannot repair a major crack or a board that has warped from being soaked or run through the dishwasher. Good care starts with daily habits: hand-wash promptly, use mild soap, dry the board upright or on its edge, and never leave it submerged in a sink.
Choosing the Right Oil for Cutting Boards
For most boards, food-grade mineral oil is the dependable choice. It is colorless, odorless, stable, and does not go rancid. That stability is the reason it is widely used on cutting boards, butcher block countertops, and other food-contact wood surfaces.
A board cream or conditioner made with mineral oil and natural wax is also useful. The oil penetrates the wood, while the wax adds a little extra surface protection and a soft, finished feel. Many homeowners use plain mineral oil for regular conditioning, then apply a board cream occasionally when they want more water resistance.
Avoid cooking oils such as olive, vegetable, corn, canola, or avocado oil. They may seem convenient, but they can oxidize over time and leave a sticky surface or unpleasant smell. Tung oil and linseed oil can be suitable for certain woodworking projects, but they need to be specifically labeled food-safe and fully cured. For routine kitchen maintenance, mineral oil is simpler and more predictable.
If your board has a stain, brand mark, or custom detail, test any new conditioner on a small, less visible area first. A good product should enrich the wood’s natural color, not leave a heavy coating or change the appearance unevenly.
How to Oil Cutting Boards Step by Step
Start with a clean, completely dry board
Wash the board by hand with warm water, mild dish soap, and a soft sponge. Rinse it quickly rather than letting it sit under running water. Towel it dry, then allow it to air-dry fully before applying oil. Depending on the board’s thickness and your home’s humidity, this may take several hours or overnight.
Applying oil to damp wood can trap moisture below the surface. That works against the purpose of conditioning and may contribute to swelling or movement in the board. If the board feels cool or damp, give it more time.
Apply a generous, even coat
Pour a small amount of mineral oil directly onto the board or onto a clean, lint-free cloth. Rub it into the wood in the direction of the grain, covering the face, edges, handles, juice grooves, and underside. The underside is easy to overlook, but treating both sides helps the board absorb moisture more evenly.
End-grain cutting boards may drink up a surprising amount of oil because their wood fibers are exposed like tiny straws. Keep applying small amounts until the surface looks evenly saturated but not puddled. A thinner edge-grain board usually needs less, though it still benefits from full coverage.
Let the oil absorb, then wipe away excess
Give the board at least a few hours to absorb the oil. For a board that is especially dry, an overnight treatment is often worthwhile. Place it on a clean towel or a protected work surface while it rests.
Afterward, wipe off any oil that remains on the surface with a fresh cloth. The goal is a smooth, conditioned finish, not an oily feel. If you use a wax-based board cream, apply it after the oil treatment has absorbed, let it haze slightly, and buff it with a clean cloth.
Before using the board for food, make sure it feels dry to the touch. A well-oiled board should look richer in color and feel supple, but it should not leave residue on your hands or countertop.
How Often Should You Oil a Cutting Board?
There is no single calendar that fits every kitchen. A board used daily for produce, meat prep, and dinner cleanup will need attention more often than a serving board that comes out for weekends and holidays. For many households, once a month is a solid starting point.
Let the wood tell you when it needs care. If water stops beading and begins soaking in quickly, if the surface looks pale or chalky, or if it feels rough after washing, it is time to oil. In dry winter months, some boards need conditioning every two to three weeks. A lightly used board may only need it every few months.
New handmade boards also benefit from a conditioning routine early on. They leave the shop finished and ready for use, but regular oiling helps protect the surface as the board settles into the humidity and rhythms of your home.
Common Mistakes That Shorten a Board’s Life
The biggest mistake is treating a wood cutting board like plastic. Dishwashers combine heat, water, and long exposure time, which can cause warping, checking, and glue-joint failure. Soaking a board in the sink creates a similar problem, especially around the edges and end grain.
Another issue is oiling only the top. Wood moves as it gains and loses moisture, so keeping both faces conditioned helps maintain balance. Do not forget the edges, cutout handles, and perimeter of any juice groove.
People also sometimes sand a board too aggressively when it develops knife marks. Light sanding can refresh a worn surface, but removing too much material can alter corners, flatten details, and create an uneven appearance. For deep cuts, roughness, or a persistent stain, start with a light pass of fine sandpaper, remove the dust completely, and re-oil the entire board.
Finally, do not use a board with deep cracks or separated joints for raw-food preparation. Minor surface checks can sometimes be stabilized, but structural damage deserves a closer look before the board goes back into kitchen duty.
A Better Start With a Well-Built Board
Maintenance is easier when the board itself is built from properly prepared hardwood and made for real kitchen use. Thickness, grain direction, wood species, and careful glue-up all affect how a board feels, wears, and responds to seasonal changes. A board sized for your prep space also gets used more often than one that is too small for the job or too bulky to store.
At Tooill Cabinets, each handmade board is built with the kind of everyday use in mind that makes regular care worthwhile. Whether you choose a compact board for quick prep or a larger statement piece for an island or entertaining space, the right conditioning routine protects the craftsmanship you can see and the strength built into the piece.
A few minutes with food-safe oil is a small kitchen ritual, but it pays off every time your board comes out smooth, steady, and ready for the next meal.