
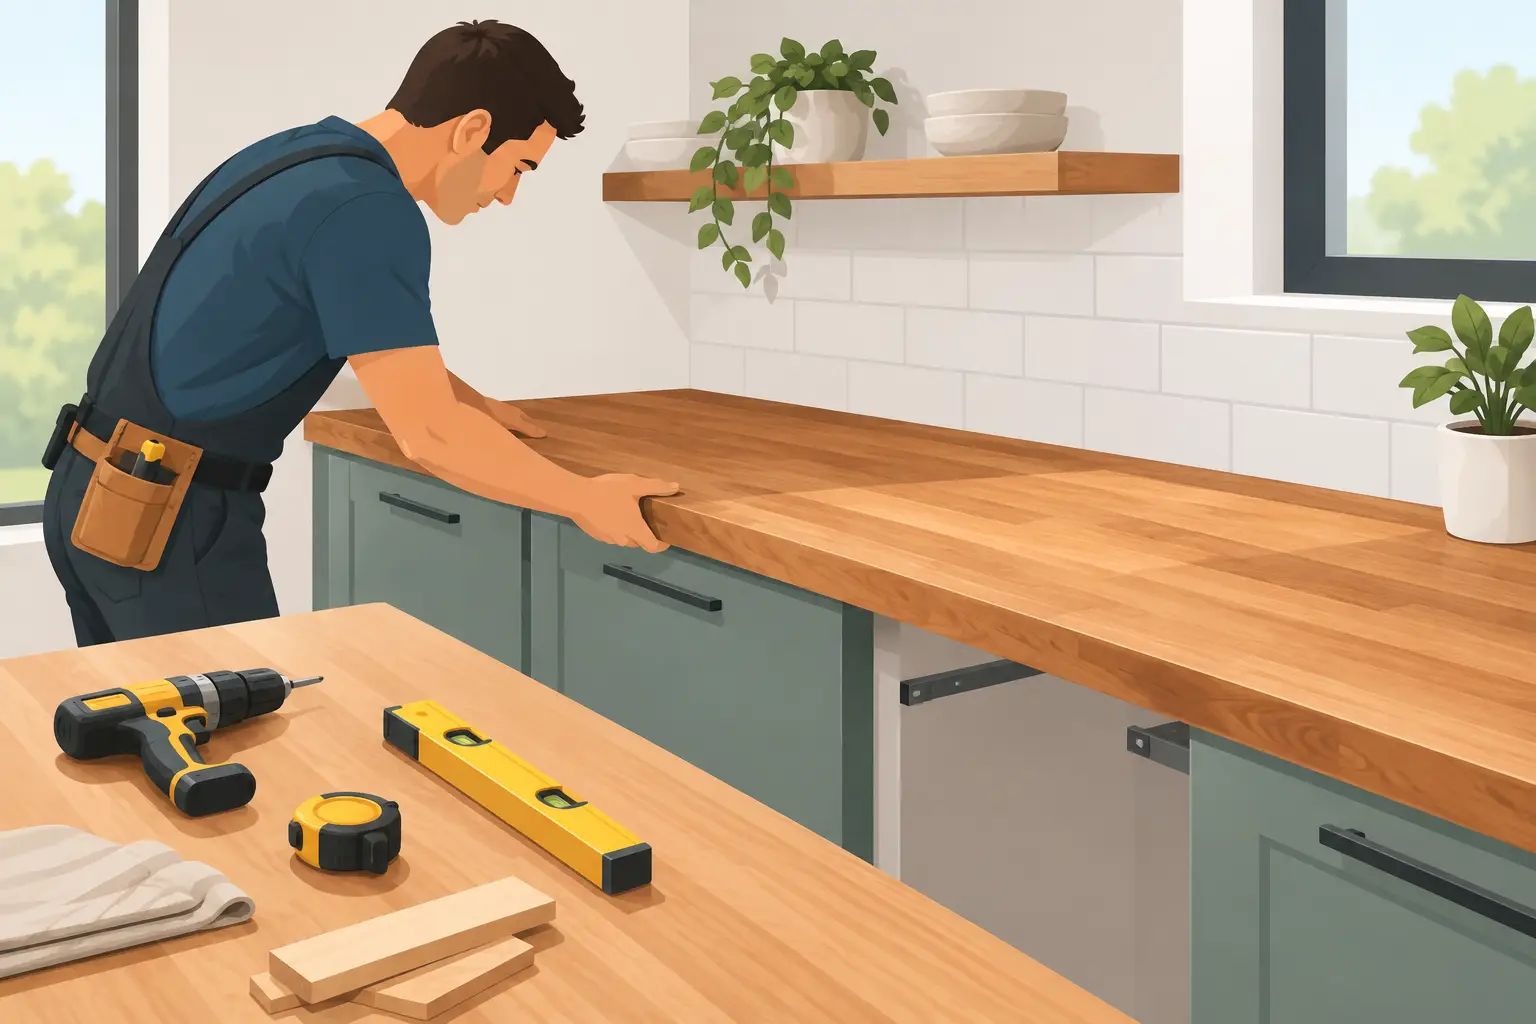
A wood countertop changes the feel of a kitchen, laundry room, bar, or island the moment it goes in. It brings warmth that stone and laminate cannot copy, but it also needs to be installed with respect for how real wood moves. This guide to wood countertop installation walks through the decisions that protect a handcrafted surface and help it look right from day one.
A solid wood top is not a sheet-good countertop. Seasonal humidity can make it expand and contract across its width, especially in climates with cold, dry winters and humid summers. The goal is not to lock the wood down as tightly as possible. The goal is to support it fully, secure it safely, and leave room for that natural movement.
Start With the Right Measurements and Layout
Measure the cabinet run in several places, not just at the front edge. Walls are often out of square, and cabinets may vary slightly from one end to the other. Record the length, depth, backsplash clearance, and any overhang needed for seating. If the countertop meets a wall, check for bows with a straightedge or long level before finalizing the cut line.
Standard base cabinets are usually 24 inches deep, but a finished wood countertop may be ordered deeper to create a clean front overhang and allow for scribing at the wall. For an island, determine how much overhang will be unsupported. A modest overhang can often work without brackets, while a deep breakfast-bar overhang needs hidden steel, corbels, or another support method designed for the span and the thickness of the top.
Before installation day, dry-fit the countertop on the cabinets. This is the time to confirm that the grain direction looks intentional, seams line up where planned, and the front edge sits evenly. If a wall needs scribing, make small, careful adjustments. Taking off too much material cannot be undone.
Prepare the Cabinets for a Wood Countertop
The cabinets need to be level, secure, and in the same plane. Set a long level across the cabinet tops from side to side and front to back. A low cabinet can be shimmed; a high point may require adjustment before the countertop goes on. Do not rely on the wood top to hide a cabinet problem. Uneven support can create stress, gaps, or a countertop that rocks under pressure.
Install any sink supports, dishwasher brackets, countertop brackets, or ledger cleats before setting the wood in place. A dishwasher should be anchored to the surrounding cabinetry or side brackets rather than directly to the underside of a solid wood countertop whenever possible. That keeps fasteners from restricting movement and avoids unnecessary holes in the wood.
Clean the cabinet tops and remove staples, screws, or construction debris. If your base cabinets have solid plywood stretchers, they can provide good fastening points. If they have narrow rails or open corners, add wood blocking where needed so the countertop has firm, predictable support.
Tools and Materials for Wood Countertop Installation
Most installations do not require a shop full of specialty equipment, but having the right basics makes the work cleaner and safer. Plan to have a drill and bits, a driver, a long level, a tape measure, clamps, painter’s tape, shims, and a jigsaw or router if cutouts are needed.
You will also need the correct fasteners. Figure-eight countertop fasteners, tabletop Z-clips, or screws used through elongated slots are all common options because they hold the top down while allowing it to move. Avoid a continuous bead of construction adhesive between the cabinets and countertop. Adhesive may seem secure, but it can restrict seasonal movement and make future service difficult.
If you are cutting a sink or cooktop opening, use the appliance template and verify it against the actual unit. Templates can be confusing, and a cutout that is even slightly oversized is hard to disguise. Protect the finished face with painter’s tape, mark from the underside when practical, and support the waste piece as the cut is completed.
How to Fasten a Wood Countertop Correctly
Set the dry-fitted countertop aside, then install your chosen fastening hardware along the cabinet rails or blocking. Position fasteners around the perimeter and near cabinet divisions so the top is supported evenly. The exact spacing depends on the cabinet construction and top size, but the goal is firm contact without creating fixed points across the whole width.
For screws through cabinet stretchers, drill elongated slots running across the grain of the countertop. Use a washer under the screw head, then drive the screw snugly enough to hold the countertop down without crushing the wood fibers. The slot gives the screw room to shift as the wood expands or contracts.
Figure-eight fasteners are another dependable choice. One side attaches to the cabinet frame and the other to the underside of the top. Their pivoting shape provides controlled movement. Z-clips work in a kerf cut into the countertop underside and are especially useful when cabinet rails have a compatible groove or mounting arrangement.
Do not fasten the countertop to a wall. If the back edge meets a wall, leave a small expansion gap and cover it with a backsplash, trim, or a carefully planned bead of flexible, color-matched sealant. The trim should conceal the gap, not trap the countertop in place.
Handle Sink, Faucet, and Cooktop Areas With Care
Water is the biggest long-term concern around a wood countertop sink cutout. The surface may be fully finished, but freshly cut edges expose end grain and need extra attention. Before dropping in the sink, apply finish or a suitable waterproofing treatment to every raw edge inside the cutout, including the underside. Let it cure according to the product directions.
Undermount sinks require more planning than drop-in sinks. They need a strong mounting system that supports the sink independently of adhesive alone, and the underside of the wood around the opening must be sealed thoroughly. Many homeowners choose professional help for undermount installations because a failed sink mount can damage both the countertop and the cabinet below.
For faucets, drill clean holes at the proper diameter and confirm clearance beneath the deck for mounting nuts, supply lines, and a pull-down hose. Around any fixture, use the appropriate flexible sealant to keep water from reaching exposed edges. Wipe up standing water rather than letting it sit around the faucet base.
Finish the Edges and Make Final Adjustments
Once the top is secured, inspect the front reveal and side overhangs from several angles. Small visual adjustments matter. A countertop can be level but still look off if one end projects farther than the other or an overhang does not align with adjacent panels.
If the countertop arrived prefinished, protect that finish during installation with clean moving blankets or cardboard. Do not drag tools, sinks, or hardware across the surface. If field finishing is required, sand lightly only as needed, remove all dust, and apply a finish suited to the countertop’s use. Food-safe oil finishes are common for worktops intended for food preparation, while hardwax oils and durable film finishes may be preferred for desks, bars, vanities, or lower-contact surfaces.
The best finish depends on how the top will be used. A kitchen work surface benefits from a finish that is easy to renew. A bathroom vanity needs strong moisture protection. A dining or bar top may prioritize stain resistance and a smoother, more built-up sheen. There is no single right choice, but the finish and the installation details should work together.
Care That Keeps the Wood Looking Handcrafted
After installation, give the countertop time to settle into the home’s environment. Normal seasonal movement is expected and does not mean the installation failed. Keep indoor humidity reasonably stable when possible, especially during the first year.
Clean the surface with a lightly damp cloth and mild soap when needed, then dry it. Avoid harsh cleaners, bleach, and abrasive scrubbers that can dull or damage the finish. Use trivets for hot cookware, wipe spills promptly, and do not leave wet towels or dishes in one spot for long periods.
A well-built wood countertop is meant to be used, not treated like a museum piece. Small marks and signs of life can often be cleaned up with a light sanding and a fresh coat of the right finish. When ordering a made-to-measure top from a craft-focused shop such as Tooill Cabinets, share your cabinet layout, sink plans, and intended use early. Good installation starts with a countertop built for the space it is going into.
Take your time with the measurements, support, and fastening details. The payoff is a solid wood surface that fits the room, performs for years, and gets better looking as it becomes part of daily life.