
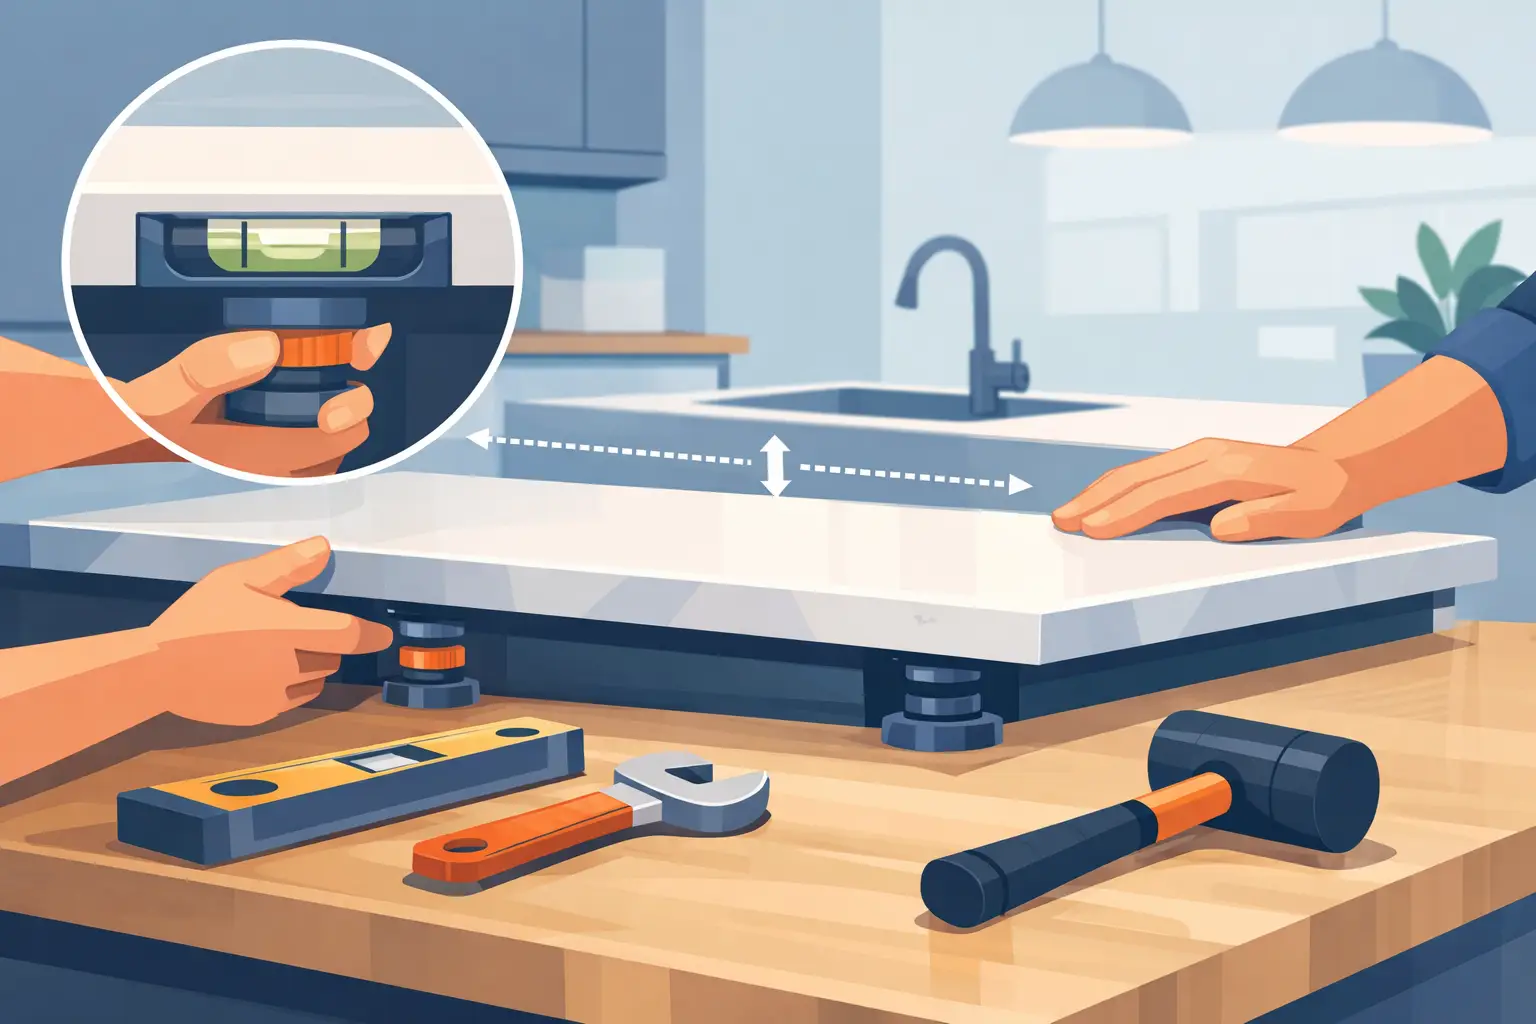
A solid wood island top can be perfectly built and still look wrong if the base beneath it is out of level. Learning how to level island tops before fastening them down protects the fit, the finish, and the clean visual line that makes a custom kitchen feel intentional. The goal is not just to make a bubble level read center. It is to create a stable, fully supported surface that will not rock, sag, twist, or fight the natural seasonal movement of wood.
For a butcher block or hardwood island top, take your time with this stage. A few careful adjustments before installation are far easier than trying to correct a gap after the top is attached.
Start With the Cabinets, Not the Wood Top
The island base determines whether the installation succeeds. Do not set the top on the cabinets and assume it will flatten into place under its own weight. Solid wood has strength, but forcing it over an uneven base can introduce stress and leave high spots, gaps, or a noticeable wobble.
Begin with the cabinets fully assembled and secured in their final position. If the island is movable, lock the casters or confirm the finished floor is suitable for the intended installation. Check that doors and drawers are installed or, at minimum, that the cabinet boxes are square and not racked.
Use a quality 4-foot or 6-foot level across the cabinet rails in several directions: front to back, side to side, and diagonally from corner to corner. A longer level reveals gradual dips that a short torpedo level can miss. For larger islands, a laser level or straightedge can also help identify where the base rises or falls.
Mark the high spots and low spots with painter’s tape directly on the cabinet rails. This gives you a clear picture of the correction needed before the wood top ever comes into contact with the base.
Check for Flatness as Well as Level
Level and flat are related, but they are not the same thing. A cabinet run can be level from left to right while still having a low spot in the middle. It can also be flat but slightly out of level across the room.
For an island top, flatness across the support points matters most. Lay a long straightedge across the cabinet rails and look for daylight beneath it. Small variations are common in remodeling work, especially on older floors, but a broad gap needs to be corrected so the top receives even support.
If one corner is low, the cabinet itself may need adjustment. If the cabinets are level but the rails are uneven, shimming at the mounting points may be enough. Avoid using the wood island top to hide a major cabinet problem. Correct the base first whenever possible.
How to Level Island Tops With Shims
Once you know where the base is low, use rigid shims to bring the support surface into the same plane. Hardwood shims, composite shims, or purpose-made plastic shims are all suitable choices. Cardboard, folded paper, and soft wood scraps are not. They can compress over time and turn a once-stable top into a moving surface.
Place shims over solid cabinet framing, corner blocks, or mounting rails – not over thin unsupported areas. If a shim extends beyond the rail, trim it flush so it cannot be seen from below or interfere with the installation.
Work one area at a time. Add a thin shim, recheck with the long level, and continue until the cabinet support points are even. It is better to build up low areas with several precise adjustments than to force one thick shim into a place where it causes a new high spot.
For islands with a plywood substrate, use shims to level the substrate before the finished top goes on. The substrate should be securely fastened to the cabinet base and supported continuously enough that it cannot flex. This approach can be helpful for very large tops, overhang-heavy designs, or installations that include a sink cutout.
Use Construction Adhesive Carefully
Adhesive can hold a shim in place during installation, but it should not be used as a substitute for proper support. A small dab on a shim is often enough to keep it from sliding while you test-fit the top. Let it cure as directed before relying on it.
Do not spread adhesive across the full cabinet rail and glue a solid wood top down. Wood expands and contracts across its width as humidity changes. A fully glued connection can restrict that movement and contribute to splitting, cupping, or stress at joints.
Dry-Fit the Island Top Before Fastening
Set the island top in place only after the cabinet base is level and flat. Get help with this step. Hardwood tops are heavy, and dragging one across cabinet rails can scratch the underside, damage finished edges, or chip a cabinet face frame.
Position the top according to the planned overhang. Measure from the cabinet face at several points rather than relying on one corner. On a rectangular island, check that the reveal is consistent on the front, back, and ends. If the top includes seating overhang, confirm that any planned brackets or corbels will land where they can do their job without interfering with drawers, legs, or knee space.
Then test for movement. Press gently at each corner and along the perimeter. The top should sit still without rocking. If it rocks, do not fasten it and hope the screws will pull it down. Lift the top, identify the high point, and adjust the shims or cabinet rail until the support is even.
Check the surface one more time with a long level. If the finished floor slopes slightly, you may need to decide whether the top should follow the room or be true level. In most kitchens, a level work surface is the better choice. A small visual difference at the floor is usually less noticeable than a countertop where glasses roll or water pools to one side.
Fasten a Wood Top Without Restricting Movement
A level island top still needs the right attachment method. Solid wood moves most across the grain, so the mounting hardware must allow for that movement while holding the top securely to the cabinets.
The most common approach is fastening from inside the cabinet through elongated screw holes, figure-eight fasteners, tabletop clips, or metal Z-clips. The right choice depends on the cabinet construction and the top design. For a thick butcher block top, screws through oversized or slotted holes in the cabinet rails can work well when installed correctly.
The key is simple: the screws should secure the top without pinning it so tightly that it cannot expand and contract. Use washers where appropriate, predrill the wood, and avoid overtightening. The fastener should be snug, not driven so hard that it clamps the wood against the cabinet frame with no room to move.
If your island top has a sink, cooktop, or plumbing cutout, pay extra attention to support near those openings. Large cutouts reduce material and can create areas that need additional blocking, brackets, or a well-planned substrate. Follow appliance clearances and use heat protection where required. Wood is a beautiful countertop material, but it should not be installed where it will be exposed to direct heat beyond its intended use.
Support Overhangs Properly
An overhang for stools changes the loading on the top. Even a thick, well-made hardwood slab can flex if people lean on an unsupported edge repeatedly. The exact support needed depends on the thickness of the top, species, grain direction, depth of overhang, and the spacing of brackets or legs.
For modest overhangs, the cabinet base may provide enough support. Deeper seating areas often need concealed steel brackets, decorative corbels, legs, or a steel reinforcement system. Install these supports before final fastening so the top rests naturally on them rather than being lifted or forced into position afterward.
Make Final Adjustments Before Calling It Done
After the top is fastened, inspect the entire installation from standing height and from underneath. Look along the edge profile for gaps between the wood and cabinetry. Open drawers and doors to make sure nothing rubs. If the island sits near a wall or another countertop, check that expansion space has been left where needed.
Wipe the surface clean and inspect it under normal kitchen lighting. A level top should feel steady when you lean on it, and it should look calm from every angle. Minor gaps at a wall can often be covered with an appropriate trim detail, but do not caulk wood tightly to surrounding fixed surfaces unless the design specifically allows for movement.
Solid wood also needs time to acclimate before installation. If possible, bring the top into the home several days ahead of the install and keep it in the conditioned space where it will live. Do not leave a finished island top in a garage, damp basement, or unheated jobsite until the last minute. Proper acclimation will not eliminate wood movement, but it helps the piece begin its life in conditions closer to its new normal.
A made-to-order top from Tooill Cabinets is built for the dimensions and look you choose, but a careful install is what lets that craftsmanship show. Measure twice, correct the cabinet base patiently, and give the wood room to behave like wood. The result is an island surface that feels as solid as it looks every time your kitchen gathers around it.