
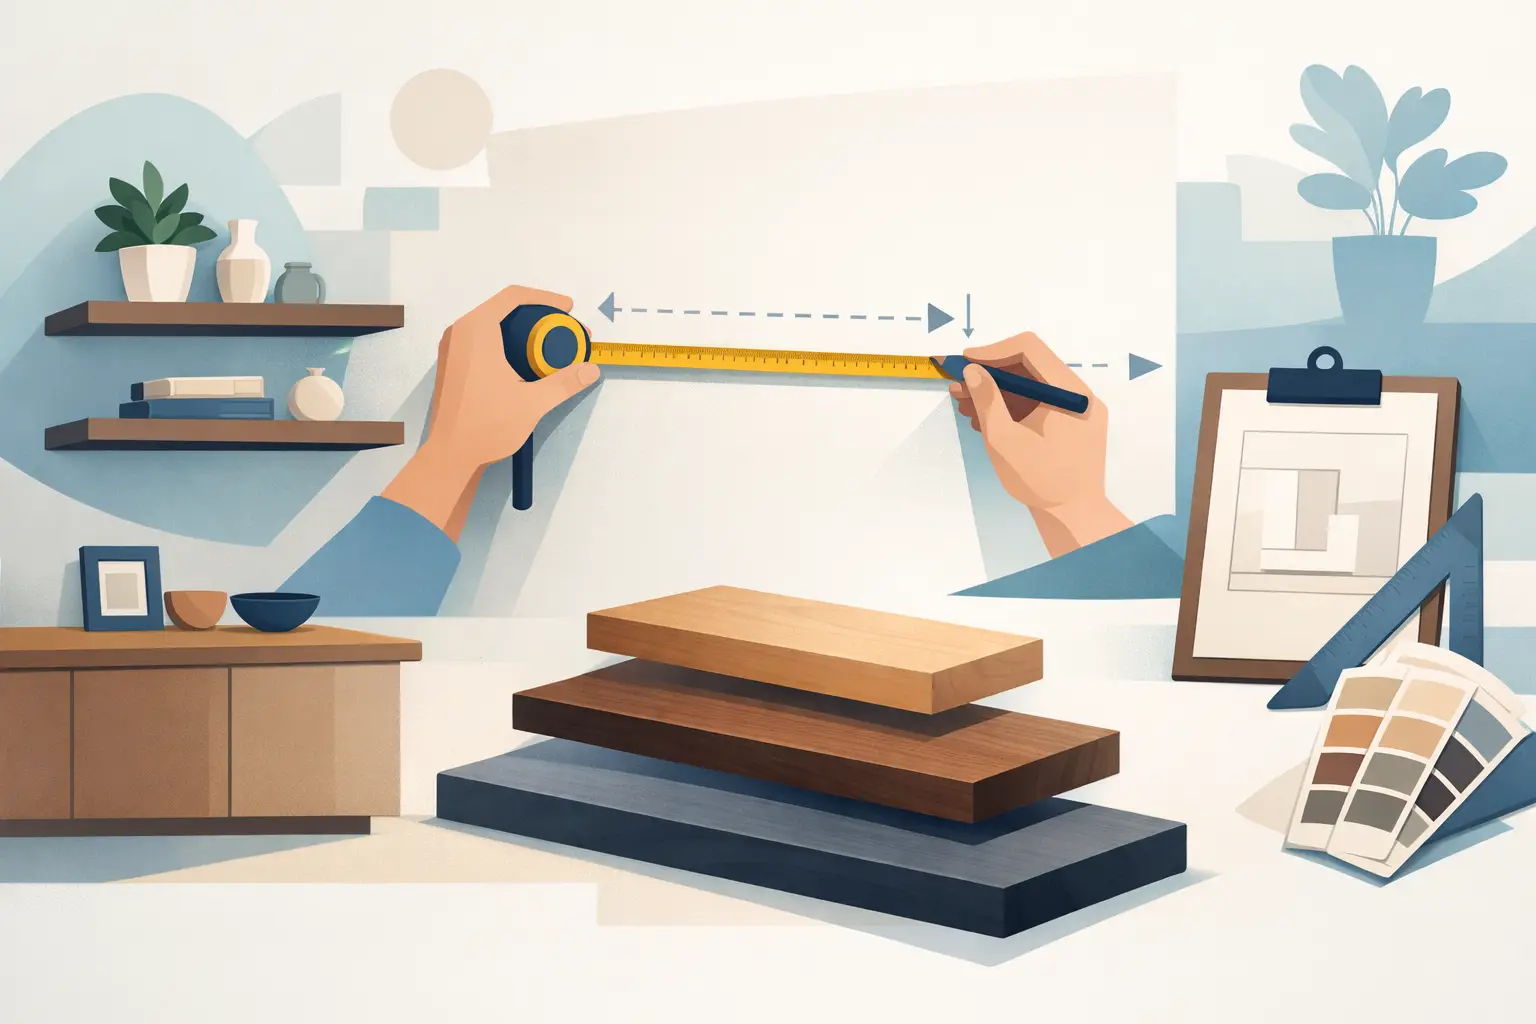
A floating shelf that is even an inch too long can turn a finished wall into a frustrating install. The benefit of learning how to order custom floating shelves is simple: you get solid wood shelving made for the wall, the objects, and the look you actually have in mind – not a stock size you have to work around.
Custom shelves are a practical choice for kitchen walls, coffee bars, bathrooms, laundry rooms, offices, and built-ins. They can fill an awkward alcove, line up with cabinets, match a butcher block countertop, or create storage where a freestanding piece would take up floor space. A successful order starts before you choose a wood species or finish. It starts with accurate information.
Start With the Wall, Not the Shelf
Before choosing dimensions, look closely at where the shelves will live. Measure the usable space, but also account for trim, cabinet doors, faucets, outlets, windows, tile edges, and anything that may limit depth or installation clearance.
For a shelf installed between two walls, do not order it to the exact opening measurement. Walls are rarely perfectly square, especially in older homes. Measure the opening at the top, middle, and bottom, then use the smallest measurement as your reference. Leaving a small amount of installation clearance is usually wiser than forcing a tight fit that may require trimming on site.
For an open wall, decide where the shelf ends should land. You may want them aligned with upper cabinets, centered over a countertop, or extended past a furniture piece below. Painter’s tape is an easy way to test length, height, and spacing on the wall before placing an order. Stand back, open nearby doors, and imagine the shelf loaded with everyday items. That quick step often catches layout issues that a measurement alone will not.
Record length, depth, thickness, and quantity
Every custom shelf order needs four basic details: finished length, finished depth, thickness, and the number of shelves. Write measurements in inches and clearly label them so there is no guesswork.
Depth deserves extra attention. A shallow 6- to 8-inch shelf works well for spices, framed photos, small plants, and decor. Kitchen shelves often need 9 to 12 inches for dinnerware, mugs, bowls, and canisters. Going deeper creates more useful storage, but it also increases the visual weight of the shelf and the leverage placed on its mounting system.
Thickness is both a style and performance decision. A thicker shelf has a substantial, furniture-grade appearance and can be a better choice for longer spans or heavier use. A thinner shelf may suit a lighter, more minimal look. The right option depends on the shelf length, wood selected, mounting method, and expected load.
Choose Wood for the Room and the Job
Solid wood brings warmth and character that manufactured shelving cannot replicate. It also means natural variation is part of the finished piece. Grain direction, mineral streaks, knots, and color shifts make each shelf individual.
Maple is a clean, durable option with a light, refined look that works well in modern kitchens and bright spaces. Walnut offers rich brown tones and bold grain for a more dramatic statement. Oak has pronounced texture and traditional character. Other species may suit a particular color goal or budget.
Think about the room’s existing materials. A shelf does not have to match cabinetry exactly, but it should feel intentional beside cabinet paint, backsplash tile, flooring, and hardware. A warm wood tone can soften a white kitchen, while a darker wood can create contrast against pale walls.
Bathrooms and laundry rooms require another layer of planning. Solid wood shelves can perform beautifully in these spaces when finished properly, but they should not be placed where they will receive constant direct water. Good ventilation and a protective finish matter. If a shelf will sit near a sink, discuss the use case when requesting your custom specifications.
Select a Finish You Will Be Happy to Live With
Finish changes more than color. It affects how clearly the grain shows, how the shelf handles daily cleaning, and how it fits the rest of the room.
Natural or clear finishes keep the wood close to its original tone while protecting the surface. Stained finishes can bring out warmth, deepen the color, or help coordinate with nearby furniture. Because every board absorbs stain differently, wood samples and product photos are useful references, but they are not a promise of identical grain or color.
Be clear about the look you want: light and natural, medium and warm, dark and dramatic, or closer to a particular countertop or cabinet color. If matching an existing wood surface is critical, share clear photos taken in natural light and describe the finish rather than relying on a color name alone. Names such as “espresso” or “special walnut” can look different from one wood species to another.
For day-to-day care, most finished shelves need only a soft cloth and a mild cleaner appropriate for wood. Avoid harsh abrasives and standing water. Handmade solid wood is built for real homes, but it deserves the same basic care you would give a quality dining table or butcher block top.
Plan the Mounting Before You Place Your Order
The word “floating” describes the finished appearance, not a universal installation method. A shelf needs concealed support sized for its length, depth, thickness, and intended load. This is where many projects succeed or fail.
First, identify what is behind the wall. Studs provide the strongest standard mounting points. If the shelf must span an area without studs in the right locations, blocking installed during construction or renovation can provide a secure solution. Drywall anchors alone are not the right choice for a heavy solid wood shelf loaded with dishes, books, or cookware.
Tell the maker what the shelf will hold. A decorative shelf with a few small objects has very different demands than a 48-inch kitchen shelf carrying stacks of stoneware. Also share the wall type if you know it: standard drywall over wood studs, metal studs, masonry, tile over drywall, or another condition. Tile and masonry installations may require specialized drilling and hardware.
Measure the available installation depth as well. Some concealed bracket systems need room inside the shelf and behind it. If you are mounting above a backsplash, near a range hood, or between cabinets, small clearance details can affect what is practical.
Know when to bring in an installer
Many homeowners are comfortable locating studs, leveling a bracket, drilling pilot holes, and securing a shelf. Others prefer a carpenter or handyman, particularly for tile, masonry, very long shelves, or heavy-duty kitchen storage. Hiring help is not a compromise. It is a smart way to protect a custom piece and make sure the wall support is right.
If an installer will handle the work, involve them early. They can confirm stud locations, flag plumbing or electrical concerns, and verify that the planned shelf size and mounting style suit the wall. This is especially valuable during a kitchen remodel, when adding blocking before drywall is closed is much easier than solving for support afterward.
What to Include in a Custom Shelf Request
A clear request leads to a faster, more accurate quote and fewer surprises during installation. You do not need woodworking jargon. Straightforward details are best.
Include your finished shelf length, depth, thickness preference, quantity, wood species, finish preference, and delivery ZIP code. Add photos of the installation wall and nearby cabinets or countertops when visual coordination matters. Describe the intended use, expected weight, and wall construction if known. If the shelf must fit between walls or cabinets, say so clearly and provide the smallest opening measurement.
At Tooill Cabinets, the goal of a custom conversation is not to push a one-size-fits-all product. It is to make sure the shelf dimensions, wood selection, finish, and build details suit the space before production begins. That kind of communication matters because a handcrafted shelf is made specifically for your home.
Review the quote carefully before approving it. Confirm that every dimension is listed in the correct order, that the finish and wood are right, and that the quantity is correct. Ask how the shelf will be prepared for mounting and what hardware or installation guidance is included. Custom work is worth a second look before it goes into production.
Think Through Shipping and Arrival
Long, solid wood shelves need thoughtful packaging. Inspect the shipment when it arrives, keep the packaging until you have checked each piece, and allow the shelves to rest flat indoors before installation. Avoid storing them in a damp garage, directly on concrete, or in extreme temperature conditions.
Before drilling, place each shelf against the intended wall and confirm the fit, finish, and orientation. Wood grain has a natural face, and one side may be more visually striking than the other. Taking a few calm minutes at this stage helps the installation feel deliberate rather than rushed.
A custom floating shelf should feel like it belonged in the room all along. Measure carefully, be honest about what it needs to hold, and give the mounting details the same attention you give the wood. The result is more than open storage – it is a handmade surface that makes everyday space work harder and look better.