
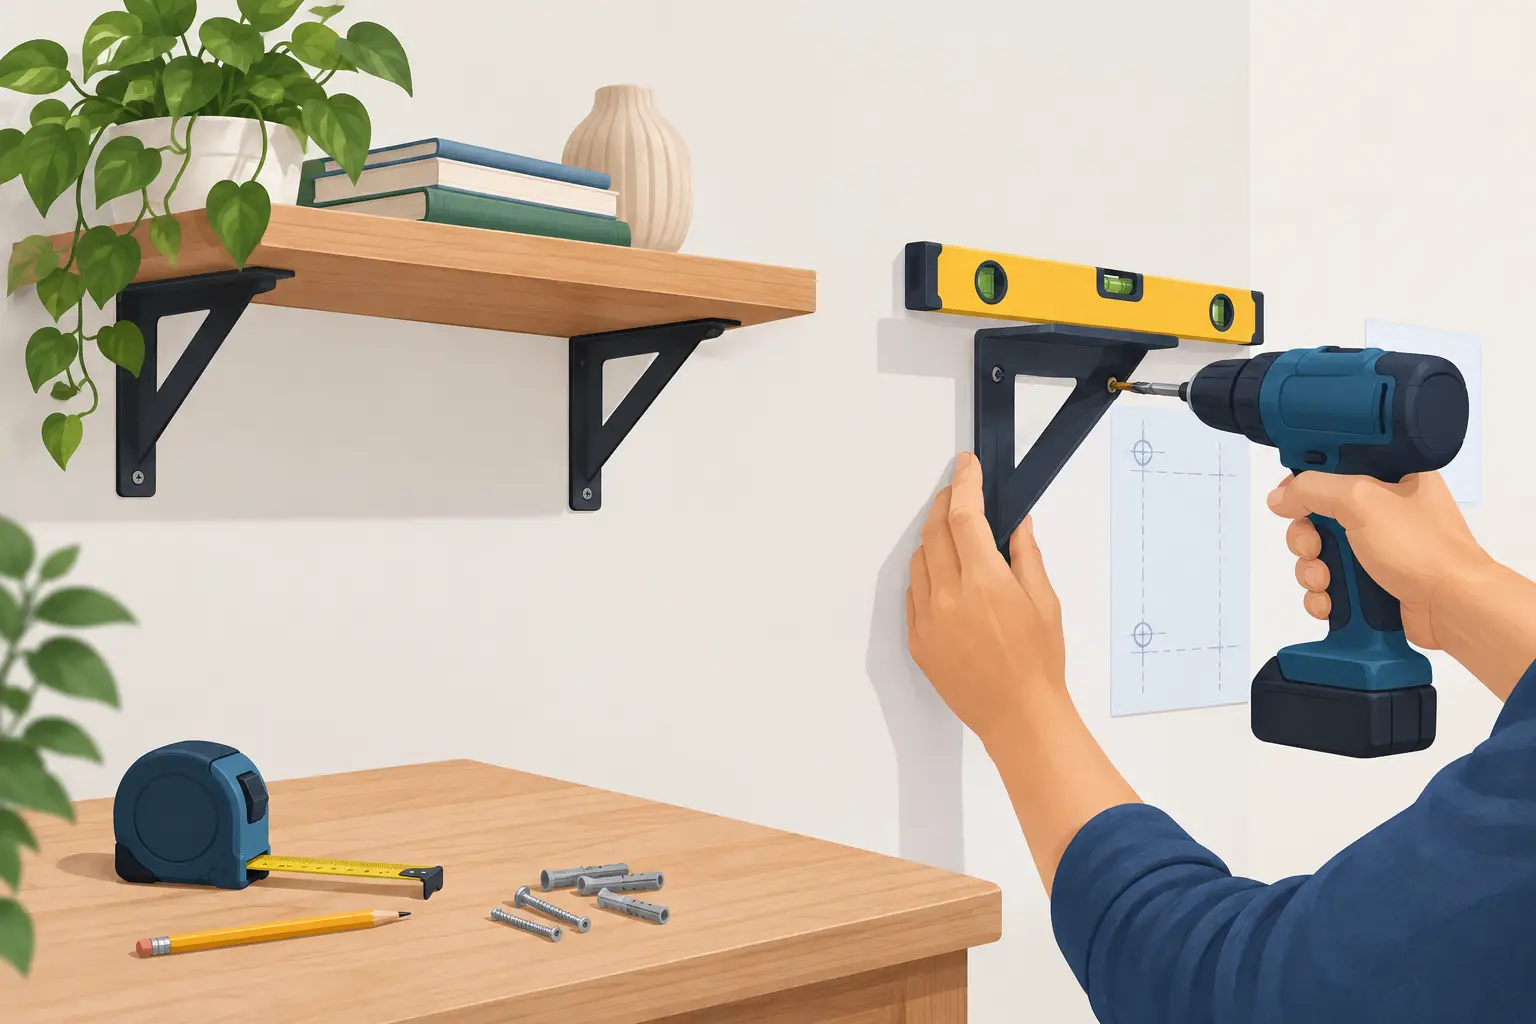
A beautiful solid wood shelf can look simple on the wall, but the brackets behind it do the hard work. Learning how to mount shelf brackets correctly is what keeps a shelf level, protects your wall, and lets that handmade piece carry everyday weight without a slow, frustrating sag.
The goal is not just to get brackets on the wall. It is to create a secure connection between the wall framing, the hardware, and the shelf itself. Take a few extra minutes to measure, locate framing, and choose the right screws. That care pays off every time you load the shelf with cookbooks, dinnerware, plants, or the pieces that make a room feel like home.
Start With the Shelf, the Wall, and the Load
Before you pick up a drill, look at the whole setup. A narrow painted pine shelf holding a few framed photos has very different requirements than a thick butcher block shelf used for heavy stoneware in a kitchen. The shelf depth, wood species, bracket style, wall material, and expected load all affect the installation.
A good rule for visible L-brackets is to choose a bracket whose horizontal arm reaches at least two-thirds of the shelf depth. For example, a 12-inch-deep shelf generally needs brackets with an 8-inch or longer horizontal arm. Shorter arms can work for light display shelves, but they provide less support and make the front edge more likely to flex under weight.
Bracket spacing depends on the shelf material and what it will hold. With solid hardwood shelves, brackets installed every 24 to 32 inches are often appropriate for normal household use, provided they are anchored into studs. A long shelf, a softer wood species, or a shelf intended for heavier items may need closer spacing. When in doubt, add support rather than testing the limits of a beautiful piece of wood.
Wall type matters just as much. Drywall over wood studs is common in US homes and is the most straightforward situation. Plaster walls, metal studs, masonry, tile, and drywall without a conveniently placed stud call for different fasteners and sometimes a different bracket layout. Do not assume a heavy-duty drywall anchor makes an unsupported shelf equivalent to one mounted into solid framing. It does not.
Tools and Materials That Make the Job Easier
You do not need a full shop to install shelf brackets well, but accurate tools make a noticeable difference. Gather your brackets, shelf, screws, drill and drill bits, a stud finder, level, tape measure, pencil, and safety glasses before starting.
For a clean, reliable installation, it also helps to have these items on hand:
- A countersink bit or a drill bit slightly smaller than the screw shank for pilot holes
- Painter’s tape for marking stud locations and protecting a finished wall surface
- A socket wrench or driver bit if your bracket hardware calls for it
- Wall anchors rated for the wall material and the load, if stud mounting is not possible
Use screws that fit the bracket holes properly and are long enough to penetrate the stud by at least 1 to 1 1/2 inches after passing through drywall and the bracket. In many cases, 2 1/2-inch structural or wood screws work well for a typical drywall-over-stud installation. The right length varies with wall thickness and bracket design, so measure rather than guess.
Avoid using the short screws that sometimes come packaged with decorative brackets unless you have confirmed their length and strength. They may be suitable for a lightweight setup, but hardware should match the actual load, not just the look of the bracket.
How to Mount Shelf Brackets Into Studs
Mounting into wall studs is the strongest and most dependable method. Start by deciding where the top of the shelf should sit. Mark that height at one end of the planned shelf location, then use a level to draw a light horizontal reference line across the wall.
Locate the studs along that line with a stud finder. Most wall studs are spaced 16 inches on center, though 24-inch spacing is also found in some homes. A stud finder gives you a starting point, but verify the result when possible. You can use a small test hole in an area the bracket will cover, or look for a consistent reading across the width of the stud.
Mark the center of each usable stud with painter’s tape or a pencil. Then hold the first bracket against the wall so its top edge aligns with your level line and its vertical mounting holes sit over the stud center. Mark the screw locations through the bracket holes.
Drill small pilot holes at the marks. Pilot holes help prevent the screw from wandering and reduce the chance of splitting wood framing. Hold the bracket in place, drive the top screw first, and check the bracket with your level before tightening the remaining screws. Do not overtighten to the point that the bracket bends or the drywall surface crushes.
Install the second bracket using the same top reference line, not by measuring down from the first bracket. Walls and floors are not always perfectly square. The level line is what ensures the shelf will look right. For a shelf with three or more brackets, install the two end brackets first, then position the center brackets along the same line.
Once every bracket is secure, set the shelf on top and confirm its placement. Measure the overhang on each end and adjust until it is centered. Mark the bracket screw holes on the underside of the shelf, remove the shelf, and drill shallow pilot holes. This is especially worthwhile with hardwood, where forcing screws without pilots can split the wood or strip the screw head.
Set the shelf back in place and drive screws upward through the bracket arms into the underside of the shelf. Choose screws that will bite securely without poking through the top surface. For many 1 1/2-inch-thick solid wood shelves, 1-inch to 1 1/4-inch screws are a sensible starting point, but always account for the bracket thickness and confirm the final depth.
When a Stud Is Not Where You Need It
Sometimes the best-looking bracket placement does not line up with the framing. This is common when centering a shelf over a range, desk, or wall feature. You have a few options, and the best choice depends on the load.
For a light shelf, quality toggle bolts can provide useful support in drywall. Toggle anchors spread the load behind the wall rather than relying on the thin drywall face. Follow the anchor manufacturer’s weight rating carefully, and remember that ratings are often based on ideal conditions. A shelf loaded unevenly creates leverage that can reduce real-world performance.
For a heavier solid wood shelf, shift the bracket locations to catch studs whenever possible. Another option is to install a painted or stained mounting board across several studs, then attach brackets to that board. This approach can look intentional, adds strength, and gives you more freedom to place brackets where they best support the shelf.
Masonry calls for masonry-rated anchors and screws, while metal studs require hardware specifically designed for metal framing. Tile adds another layer of care: drill slowly with the correct bit, avoid excessive pressure, and make sure the anchor is secured in the material behind the tile rather than relying on tile alone.
Keep the Shelf Level and the Wood Protected
After the shelf is installed, place a level across the top from side to side and along its length. A small adjustment is much easier before the shelf is loaded. If the shelf is slightly off, loosen the necessary hardware, correct the bracket position, and retighten.
Solid wood also moves slightly with seasonal changes in humidity. That movement is normal. Brackets that secure a shelf from underneath usually allow enough tolerance for everyday use, but avoid trapping a wide wood shelf tightly on all sides. Leave sensible clearance at walls or cabinets, especially for a long, wide shelf in a kitchen or laundry room.
For custom shelves, it is worth planning bracket placement before the shelf is made. The thickness, length, depth, and intended use can all be built around the support system. At Tooill Cabinets, that kind of detail is part of making a shelf that fits the space instead of asking the space to compromise.
A Quick Safety Check Before You Load It
Give each bracket a firm hand check after installation. There should be no movement at the wall or between the bracket and shelf. Start loading the shelf gradually, beginning with lighter items and distributing weight across the brackets instead of concentrating it at the center or far front edge.
If you hear cracking, see a gap opening at the wall, or notice a shelf beginning to dip, remove the load and correct the mounting before using it. Those are early warnings, not cosmetic issues.
A well-mounted bracket disappears into the finished room. What remains is the warmth of the wood, the usefulness of the shelf, and the confidence that it was built and installed to serve your home for years.