
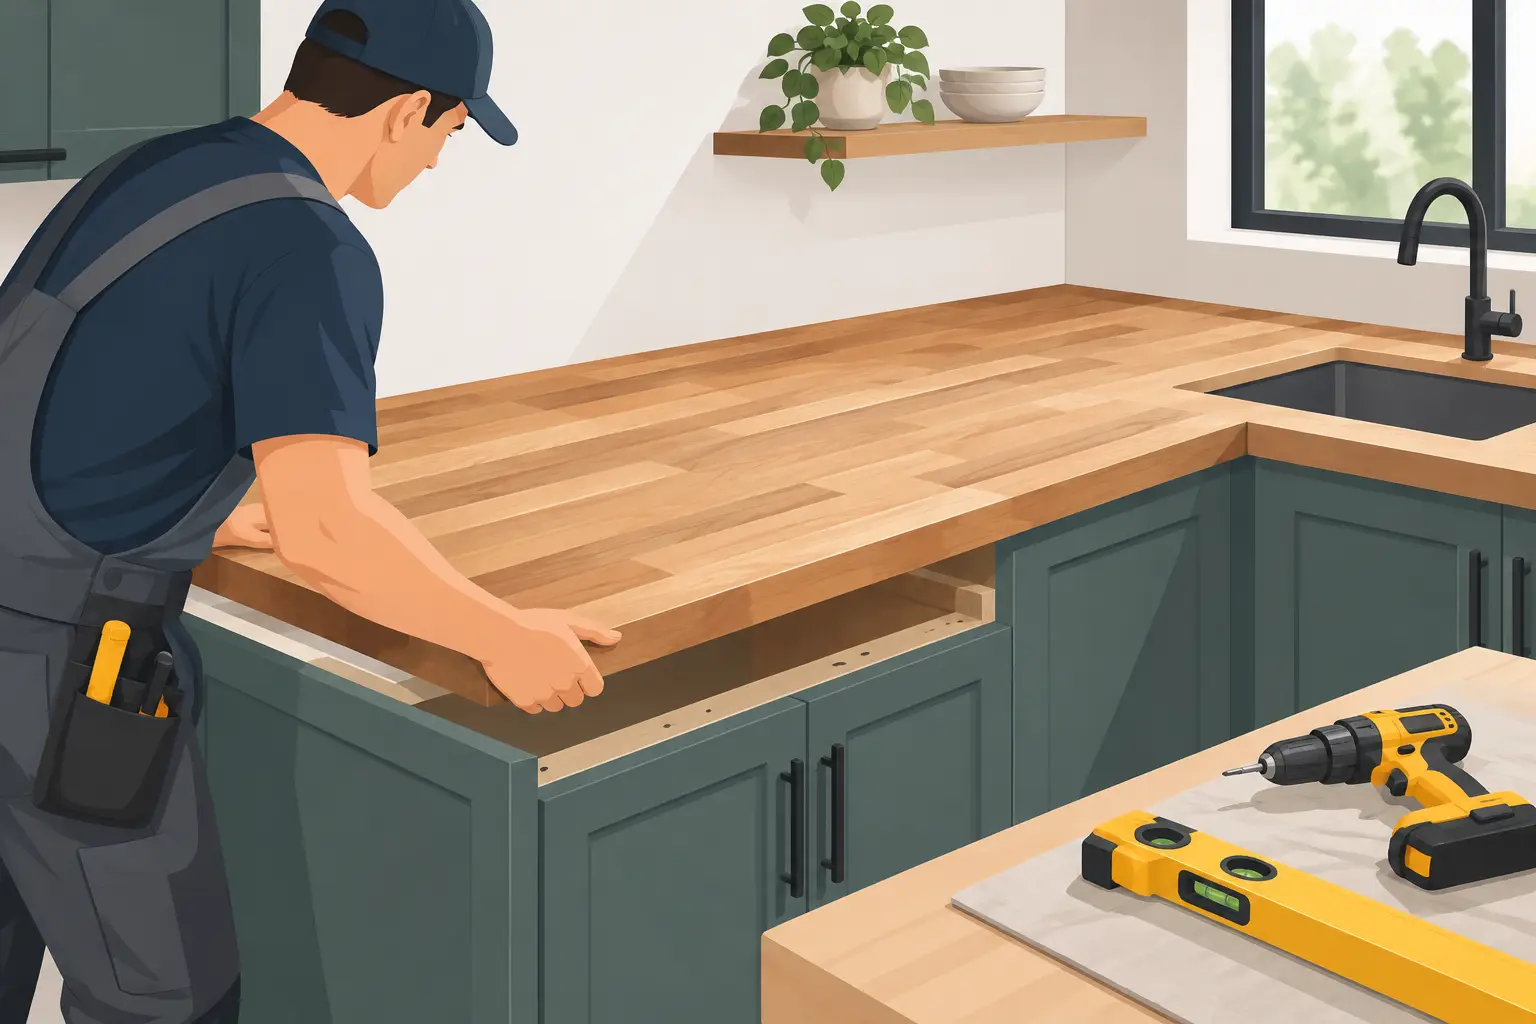
A butcher block top can make a basic cabinet run, laundry room, or kitchen island feel custom-built. But wood is not laminate or stone. It expands and contracts with seasonal humidity, which means learning how to install butcher block correctly is less about brute force and more about allowing the material to move while keeping the surface firmly supported.
A well-made hardwood countertop deserves the same care at installation as it received in the shop. Measure twice, protect the finish, and avoid locking the wood so tightly to the cabinets that it has nowhere to go. The result is a warm, durable surface that looks right on day one and stays that way through years of real use.
Before You Install Butcher Block, Let It Acclimate
Bring the butcher block into the room where it will be installed and let it rest flat for at least 48 to 72 hours. If the space is newly built, recently painted, or still has active drywall work underway, wait until the room is reasonably climate controlled. Wood reacts to moisture in the air, and installing a top before it has adjusted to its new environment can lead to movement after the fasteners are already in place.
Keep the countertop supported across its full length while it acclimates. Do not stand it on edge against a wall, especially with a long or heavy island top. Large solid wood pieces can bow under their own weight when stored improperly.
Before lifting it onto the cabinets, inspect the piece under good light. Confirm the grain direction, finished face, overhang, sink or cooktop layout, and any cutouts. If you ordered a custom top, this is the time to confirm that the fit matches the final cabinet layout, not an earlier measurement taken before fillers, end panels, or wall finishes were added.
Confirm Cabinet Support and a Level Surface
Butcher block needs solid, even support. Start by checking that the cabinet boxes are level from side to side and front to back. A countertop can bridge a minor cabinet inconsistency, but forcing a heavy wood top down onto a twisted base can introduce stress and leave visible gaps along the wall or cabinets.
Shim and secure cabinets before the countertop goes on. Pay close attention to islands, appliance openings, desk-height runs, and long spans where cabinets may not provide continuous support. For an overhang deeper than about 10 to 12 inches, add brackets, corbels, or a steel support system designed for the load. The exact requirement depends on the thickness of the top, species, span, and how the overhang will be used. A breakfast bar that sees daily leaning and seating needs more support than a shallow decorative ledge.
Place the butcher block on the cabinets dry, with no adhesive or screws yet. Check the reveal at the front, ends, and wall. Most installations look best with a consistent front overhang, often around 1 to 1 1/2 inches, but the right dimension depends on your cabinet doors, drawer fronts, and room design.
Seal Every Surface Before Final Installation
If your countertop arrives unfinished, apply the selected finish before installation whenever possible. Even when the top is prefinished, inspect the underside, edges, cutouts, and freshly trimmed areas. All faces need protection. Finishing only the top creates an imbalance in moisture exchange that can encourage cupping or warping.
For a food-prep surface or a top used like a cutting board, a food-safe penetrating oil or oil-and-wax system is a practical choice. It is easy to renew, but it requires regular maintenance. For a countertop near a sink or one that needs lower routine upkeep, a durable countertop finish is often the better fit. These finishes provide more water resistance, but deep scratches or damage usually require more involved repair.
Whichever finish you choose, follow its cure time. A finish that feels dry may not be ready for heavy handling, water exposure, or installation pressure. Seal the inside walls of sink cutouts especially well. Those exposed end-grain areas are among the most vulnerable spots on the entire countertop.
Use Fasteners That Allow Wood Movement
This is the step that separates a lasting installation from a countertop that may crack, split, or pull away over time. Do not glue a solid wood butcher block directly to cabinet rails or secure it with screws driven through tight, round holes. Wood movement is normal. Your attachment method must allow it.
The most common approach is to use countertop clips, figure-eight fasteners, Z-clips, or screws installed through elongated slots in the cabinet mounting rails. These methods hold the top down while allowing it to expand and contract across its width.
For screw installation, create elongated holes in the cabinet’s top rails that run perpendicular to the wood grain. On a typical butcher block countertop, the grain usually runs the length of the top. That means the wood moves mostly from front to back, so the slots should generally run front to back as well. Use washers beneath the screw heads and do not overtighten. The screw should secure the top, not clamp it so tightly that the wood cannot shift.
A bead of flexible silicone can be useful in limited areas, such as beneath a backsplash or at a seam where it helps prevent water intrusion. It should not be your primary means of attaching the entire countertop. Construction adhesive is especially risky on solid wood because it restrains movement across a wide area.
How to Install Butcher Block Around Walls and Seams
Few walls are perfectly straight. Rather than forcing the countertop hard against a wavy wall, scribe the back edge when needed or leave a small expansion gap that will be covered by a backsplash. A gap around 1/8 inch is often enough for a typical installation, though very wide tops or areas with major humidity swings may need more room.
For a long run made from two pieces, dry-fit the seam first. The cabinet bases must be level and supported directly beneath the joint. Use proper countertop connector bolts, biscuits or splines for alignment if appropriate, and a small amount of flexible, water-resistant seam treatment where needed. Avoid relying on a thick line of glue to correct a poor fit. A clean seam begins with accurate fabrication and proper cabinet support.
If the seam is near a sink, take extra care to seal the joint and surrounding underside. Standing water is hard on any wood surface, even a well-finished one. Wipe spills promptly and do not let wet dish towels sit against seams or sink rims.
Cutouts Need Support, Sealing, and Patience
Sink and cooktop cutouts weaken a countertop because they interrupt the continuous wood fibers. Measure from the actual appliance template and confirm clearance to cabinet walls, drawers, faucets, and support rails before cutting. A cutout that is off by even a small amount can become an expensive problem.
Use painter’s tape along the cut line to reduce surface scratching, make starter holes inside the corners, and cut slowly with a sharp blade. Support the waste piece before the final cut so it does not break away and tear the edge. Then soften sharp edges with light sanding and seal all exposed wood thoroughly.
Undermount sink installations require special planning. The sink must be mechanically supported by a rail system, brackets, or a cabinet-mounted frame. Do not depend on adhesive alone to carry the weight of a sink filled with water and dishes. Because the countertop edge is exposed to repeated moisture, maintain the finish around the sink carefully.
Final Checks That Protect the Investment
Once the countertop is fastened, recheck that doors and drawers open freely and that the overhangs remain consistent. Install the backsplash, faucet, and appliances only after confirming the top is fully seated and aligned. If you need to drill for a faucet, tape the drilling area, use a sharp bit, and support the underside to reduce tear-out.
For the first few weeks, treat the surface gently while the finish fully settles. Use trivets under hot cookware, wipe up water quickly, and avoid harsh cleaners. A butcher block countertop is built for real life, but it will reward simple care.
At Tooill Cabinets, every handmade wood top is built with the expectation that it will become part of someone’s daily routine, not just a photo-worthy renovation detail. Give your butcher block room to move, support it where it carries weight, and keep its finish maintained. Those small installation choices are what let solid wood grow more beautiful with age.