
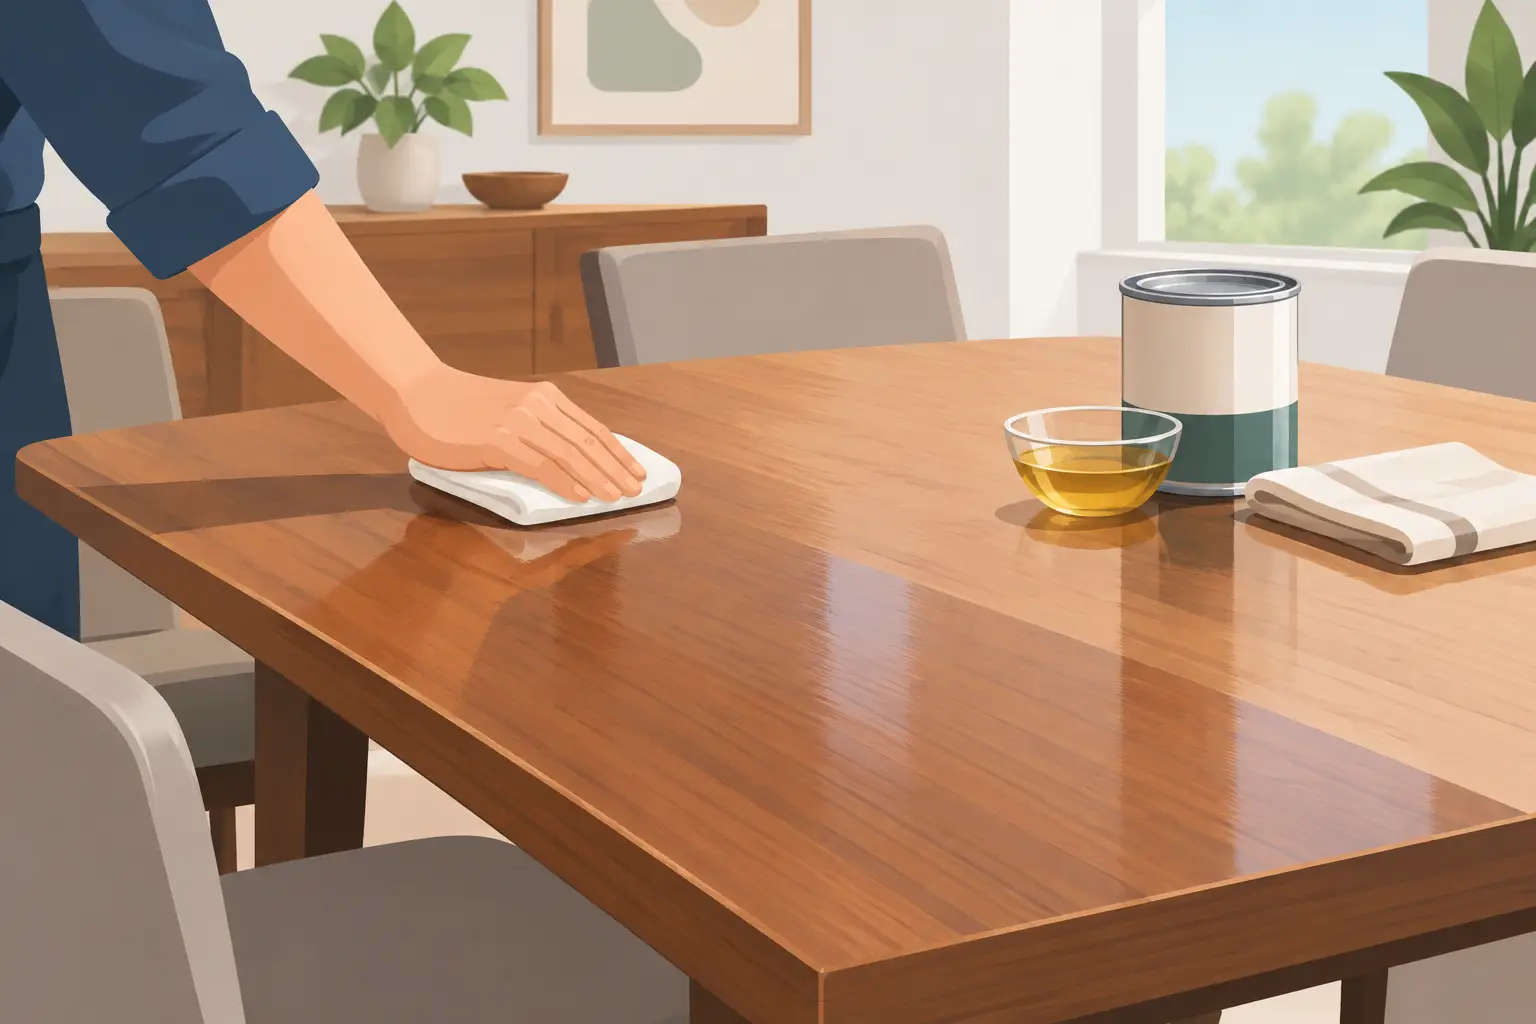
A solid wood dining table is built to be used, not treated like a museum piece. But daily meals bring water rings, heat, spills, sticky fingerprints, and the occasional forgotten wet glass. Knowing how to seal dining tables properly gives the wood a fighting chance while preserving the character that made you choose real wood in the first place.
The best finish is not always the glossiest or toughest-looking one. A family table needs a finish that fits the wood, the look you want, and the way the table will actually be used. The goal is simple: create a surface that resists moisture and stains, can handle regular cleaning, and remains practical to repair years from now.
Before You Seal a Dining Table, Understand the Wood
Wood moves as humidity changes. It expands and contracts across its width, especially with seasonal swings common in many US homes. A finish slows moisture exchange, but it does not stop wood movement completely. That is why a well-built dining top needs proper joinery, adequate support, and a finish applied to all sides.
Sealing only the tabletop leaves the underside more exposed to humidity changes. For the best protection, finish the top, bottom, edges, apron, and any exposed end grain. The underside does not need the same visual perfection as the top, but it should receive compatible coats of finish.
Open-grain woods such as oak, ash, and walnut have visible pores that give them beautiful texture. They can also hold more finish and may benefit from a grain filler if you want a perfectly smooth, furniture-grade surface. Maple and birch are tighter-grained and naturally smoother, although maple can blotch when stained. If the table has a natural, unstained look, that concern is largely removed.
Choose the Right Sealer and Topcoat
For most dining tables, the word “sealer” describes the full finishing system, not just one first coat. You may use a sanding sealer or thinned first coat to prepare the wood, but the protective layer comes from the finish built over it.
Polyurethane for strong everyday protection
Polyurethane is a practical choice for dining tables because it forms a durable film that resists water, food spills, and ordinary household wear. Oil-based polyurethane adds warmth and an amber tone that can deepen over time. It works beautifully on walnut, oak, and other woods where a warmer color is welcome.
Water-based polyurethane dries clear and stays clearer over time, making it a strong option for light woods, whitewashed finishes, or a clean natural maple look. It has lower odor and dries faster, but faster drying also means you need to work efficiently and maintain a wet edge while applying it.
A satin sheen is often the most forgiving choice for a dining table. Gloss shows every fingerprint, dust speck, and minor scratch. Matte hides imperfections well but can sometimes look flat on richly figured wood. Satin offers a natural furniture look with enough light reflection to bring out the grain.
Hardwax oil for a natural feel and easier repairs
Hardwax oil penetrates the wood while leaving a thin protective layer at the surface. It gives a dining table a hand-rubbed, low-build look that many homeowners prefer over the more noticeable film of polyurethane.
Its main advantage is repairability. If one area becomes scratched or worn, you can often clean, lightly sand, and reapply oil to that spot without stripping the entire table. The trade-off is that hardwax oil generally needs more attentive maintenance and may offer less protection against standing water or harsh spills than a well-built polyurethane finish.
This option works especially well for households that appreciate a natural wood feel and are comfortable doing occasional upkeep. It is also a smart choice for a custom table that may need touch-ups after years of use.
Professional sprayed finishes for maximum performance
Catalyzed conversion varnish and similar professional-grade finishes can provide excellent durability, chemical resistance, and an even factory-quality appearance. These finishes are common in cabinet shops and professional furniture work, but they require proper equipment, ventilation, and safe handling practices.
For most DIY projects, a quality brush-on or wipe-on polyurethane or hardwax oil is more realistic. A finish only performs as well as its preparation and application, so choosing a system you can apply correctly matters more than choosing the most technical product on the shelf.
How to Seal Dining Tables Step by Step
Start with a clean, fully dry tabletop. If you are refinishing an existing piece, remove wax, grease, polish residue, and old failing finish before sanding. Silicone-containing furniture polishes can cause finish adhesion problems, so cleaning thoroughly is not a step to rush.
Sand bare wood progressively, usually ending at 180 or 220 grit. Sand with the grain whenever possible. Going much finer than 220 can reduce finish penetration on some wood species, particularly if you are using an oil finish. For a polyurethane topcoat, 180 to 220 grit leaves a good surface for adhesion and a smooth final appearance.
After sanding, remove every bit of dust. Vacuum the surface and edges, then use a clean, lint-free cloth. Avoid leaving oily residues behind. If you use a tack cloth, use it lightly and follow the finish manufacturer’s recommendations, since some tack cloths can transfer residue.
Apply the first coat in a thin, even layer. With water-based polyurethane, use a high-quality synthetic brush, foam applicator, or finish pad made for waterborne coatings. For oil-based polyurethane, a natural-bristle brush or quality synthetic blend works well. Do not overbrush. Once the finish begins to tack up, brushing back through it can create drag marks and uneven sheen.
Let the coat dry fully, not merely until it feels dry to the touch. Lightly sand between coats with 220- to 320-grit sandpaper or a fine sanding pad. The purpose is to level dust nibs and give the next coat a mechanical bond, not to sand through the finish. Remove the sanding dust carefully, then apply the next thin coat.
Most dining tables benefit from at least three coats of polyurethane on the top surface. The edges and end grain often need extra attention because they absorb finish differently and are vulnerable to bumps. The bottom and base can usually receive fewer coats, but they still need full, consistent coverage.
Hardwax oil follows a different approach. Apply it sparingly, work it into the grain according to the product directions, and remove excess thoroughly. Heavy application is a common mistake. Oil left on the surface can cure unevenly, stay tacky, or create shiny patches.
Give the Finish Time to Cure
Dry and cured are not the same thing. A table may feel dry within hours or a day, yet the finish can remain soft underneath for days or weeks. During this curing period, avoid placing heavy decor, table pads, placemats with rubber backing, or hot serving dishes directly on the surface.
Check the specific finish instructions, but many polyurethane finishes need at least several days for careful use and several weeks to reach their best hardness. Water-based products typically dry faster than oil-based finishes, though full cure time still matters. Good airflow, moderate temperatures, and reasonable humidity help the finish cure as intended.
If you are sealing a new custom tabletop before installation, let it cure before fastening it in place whenever possible. This reduces the chance of damaging a fresh surface during handling and makes it easier to coat every edge evenly.
Protect the Finish Without Hiding the Wood
A sealed table still benefits from sensible daily habits. Wipe spills promptly with a soft, damp cloth, then dry the surface. Use coasters under drinks and trivets under hot dishes. While many finishes tolerate brief contact with heat, a hot pan or casserole dish can leave marks, soften a finish, or create a cloudy spot.
For routine cleaning, use mild soap diluted in water and a well-wrung cloth. Skip abrasive scrubbers, strong degreasers, ammonia-heavy cleaners, and silicone furniture sprays. These products can dull the finish, leave buildup, or make eventual refinishing more difficult.
A table pad is useful for large gatherings, holiday meals, and craft projects, but do not leave a non-breathable pad on the table for extended periods. Trapped moisture can affect the finish and create uneven color changes in the wood.
When a Dining Table Needs Resealing
A few fine scratches do not always mean a table needs to be refinished. Look instead for signs that protection is failing: water no longer beads on the surface, the finish looks worn through in high-use areas, stains appear quickly, or the wood feels rough and dry after cleaning.
With a hardwax oil finish, a maintenance coat may be all that is needed. Clean the table, lightly abrade worn areas if required, and reapply a compatible product. With polyurethane, small surface scratches can sometimes be improved with a light scuff sanding and fresh coat, provided the existing finish is clean and still well bonded.
If the finish is peeling, deeply cracked, or contaminated with unknown waxes and polishes, a full strip and refinish may be the more dependable route. Taking the time to restore a solid wood table is worthwhile. Unlike disposable furniture, a well-made table can be renewed again and again.
A dining table should collect memories, not just scratches. Choose a finish that matches your home, apply it with patience, and give it the care it deserves. The result is a wood surface ready for weeknight dinners, long conversations, and years of real life.