
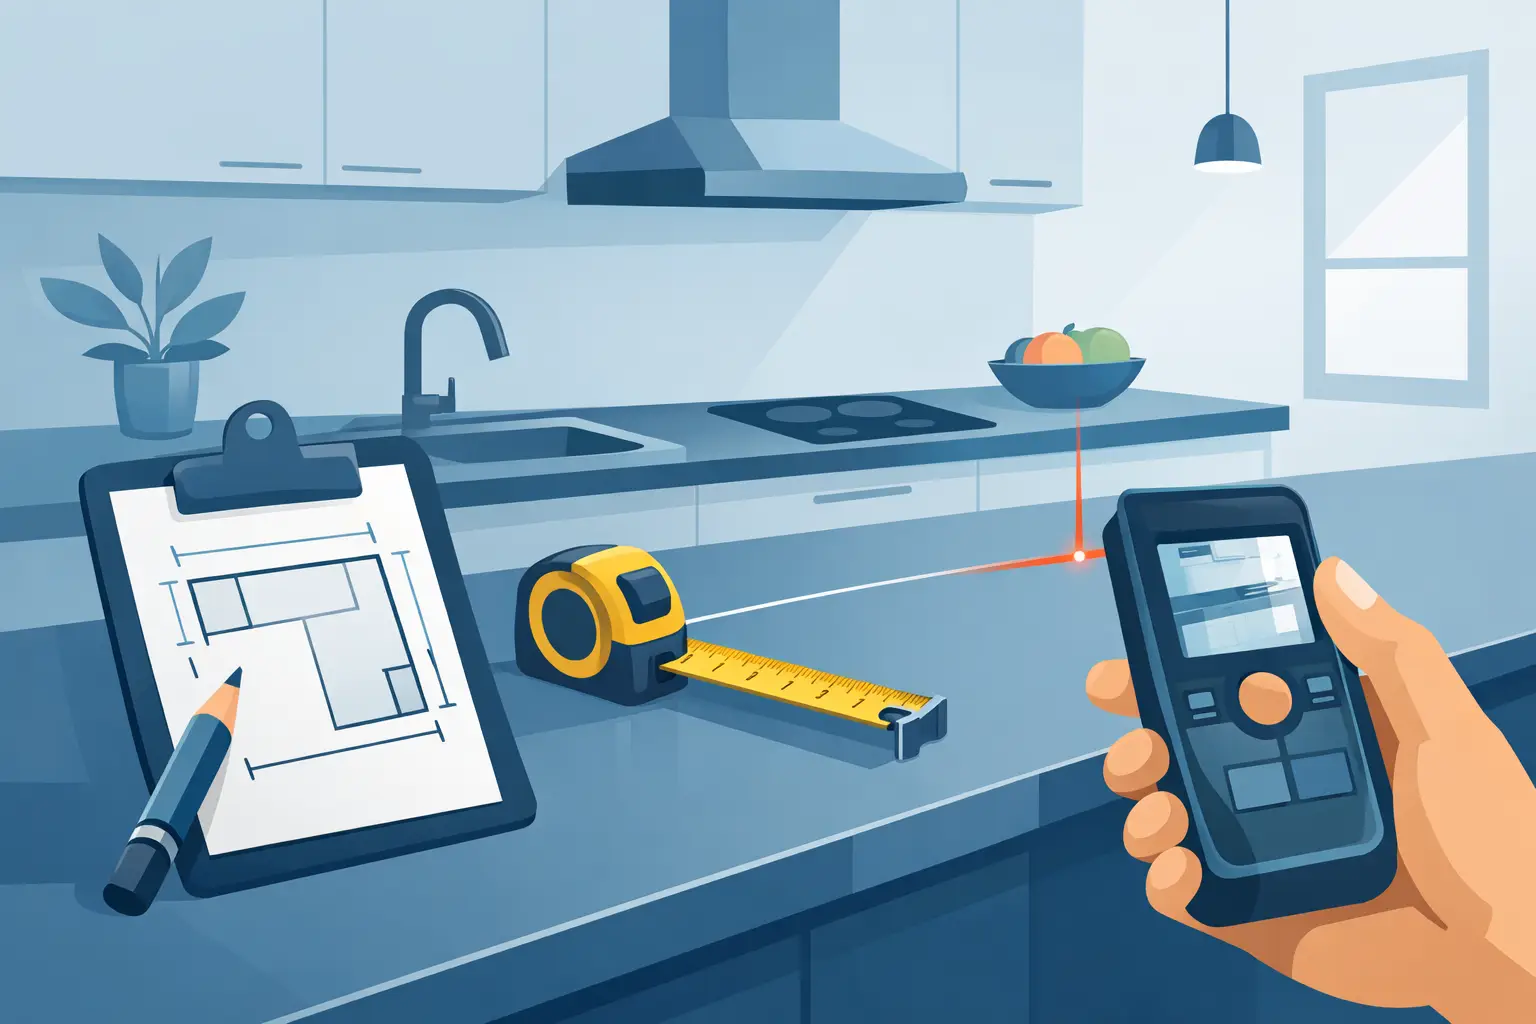
A custom countertop only fits as well as the information behind it. When you are learning how to measure kitchen countertops, the goal is not simply to find a length and width. You are documenting the real conditions of your kitchen: walls that may not be straight, cabinets that may sit slightly out of square, planned overhangs, appliance clearances, and every cutout that turns a beautiful wood surface into a finished, functional work area.
For a handcrafted butcher block countertop, careful measurements help the maker build to your space and help you avoid costly surprises during installation. Take your time, measure more than once, and write everything down before requesting a quote or placing an order.
Measure after cabinets are installed
Whenever possible, measure after your base cabinets are fully installed, secured, and leveled. Measuring an empty room or ordering from a cabinet plan can be useful for budgeting, but it is not the final word. Floors, walls, cabinet placement, and trim details can change the finished dimensions.
Make sure the cabinets are in their permanent locations and that any fillers, end panels, appliance panels, and finished sides are installed. If an existing countertop is still in place, you can use it as a reference, but do not assume it is the exact size you need. Older tops often hide uneven walls or were cut around conditions that have since changed.
You will need a quality tape measure, a pencil, paper or graph paper, and a straightedge. A laser measure can be helpful for longer runs, but confirm critical dimensions with a tape measure. Record measurements in inches and mark whether each number represents the cabinet base, the finished countertop, or a cutout.
Start with a simple countertop sketch
Draw your kitchen from above. It does not need to look like a construction drawing. A clear sketch with labeled walls, cabinets, appliances, sinks, and corners is far more useful than a list of loose numbers.
Give each countertop run a name, such as “sink wall,” “range run,” “island,” or “left return.” For an L-shaped kitchen, sketch both legs and clearly mark where they meet. For a U-shaped kitchen, draw all three runs separately, then show the inside corners. This gives your fabricator a practical map of the project and makes it easier to catch a missing measurement before production begins.
Mark the location of walls, open ends, tall cabinets, refrigerators, ranges, dishwashers, and any wall-mounted features that affect the top. If the countertop will meet a backsplash, window trim, or a side wall, note that as well.
How to measure kitchen countertops by length and depth
Measure the length of each countertop run along the wall or cabinet line. For a straight run, measure from the outside edge at one end to the outside edge at the other. Do not round numbers up or down. Record the measurement to the nearest 1/16 inch when possible.
Next, measure depth from the wall to the front of the cabinet box. Standard base cabinets are commonly 24 inches deep, but finished countertop depth is often about 25 1/2 inches to allow for a front overhang. Your kitchen may be different, especially around an island, a bar seating area, or custom cabinetry.
Measure depth in at least three places on every long run: at each end and near the center. Walls are rarely perfectly straight. If the back-wall measurement changes, write down all three numbers instead of choosing an average. A wood countertop can be scribed or trimmed during installation when planned correctly, but the fabricator needs to know where the variation exists.
For an inside corner, measure each leg independently. Do not assume an L-shaped layout forms a perfect 90-degree angle. If you are ordering separate pieces, identify which piece overlaps at the corner and which piece butts into it. If you are ordering one large L-shaped top, provide especially detailed measurements and clear photos of the cabinet layout.
Decide on front, side, and seating overhangs
An overhang is the portion of the countertop that extends beyond the cabinet base. It affects appearance, comfort, support requirements, and the final size of the piece.
A typical front overhang at standard cabinets is often around 1 to 1 1/2 inches. Side overhangs at exposed cabinet ends may match the front overhang, sit flush, or extend farther for a finished furniture-style look. There is no single correct choice. The right detail depends on the cabinet construction, door and drawer clearance, and the visual style you want.
Islands and peninsulas need more thought. A shallow overhang may create a useful standing ledge, while a seating overhang needs enough knee room for stools. Larger unsupported overhangs can require brackets, corbels, or steel reinforcement, particularly with a thick, heavy hardwood top. Confirm the support plan before ordering rather than trying to solve it after the countertop arrives.
On your sketch, show the cabinet-box dimensions first, then add the overhang at every exposed edge. For example, a 60-inch cabinet run with a 1 1/2-inch overhang on both ends calls for a 63-inch finished countertop length. Label the finished dimension clearly.
Mark walls, backsplashes, and finished ends
A countertop against a wall is not always cut to the exact wall-to-front depth. You may want a small scribe allowance at the back so the installer can fit the top tightly to an uneven wall. This is particularly helpful in older homes, where plaster, tile, and framing can vary from one end of a run to the other.
If you plan to install a separate backsplash, state its thickness and height. A wood backsplash, tile, or stone slab can affect how closely the countertop needs to fit the wall. If the top runs into a finished side panel, pantry, or tall cabinet, measure from that finished surface, not from the cabinet box hidden behind it.
Also check for window casings, outlet covers, plumbing trim, and trim molding. These small details can interfere with a backsplash or prevent a countertop from sliding into place during installation.
Measure sink, faucet, cooktop, and other cutouts
Cutouts should be handled with precision. For sinks, cooktops, and specialty hardware, the manufacturer’s cutout template is more reliable than measuring the fixture by hand. Keep the template and product specifications available for your fabricator and installer.
Measure the cutout location from two fixed reference points, usually the left or right finished edge and the front finished edge of the countertop. For example, do not write only “sink centered.” Instead, provide the distance from the left finished edge to the cutout centerline and from the front edge to the cutout centerline.
Confirm that the sink will clear cabinet rails, drawers, plumbing, and the dishwasher. A farmhouse sink requires its own cabinet and often changes the countertop’s front edge detail. Undermount sinks need a carefully finished opening and should be matched to the actual sink, not a similar model. For a faucet, make sure there is enough room behind the sink for drilling and that the handle will not strike a wall or backsplash.
If you have not selected the sink or cooktop yet, it is usually wiser to finalize those choices before production. A custom wood top can be made around nearly any layout, but cutout dimensions cannot be guessed safely.
Account for seams, grain direction, and wood movement
Long runs, stair access, tight hallways, and complex layouts may make a single-piece countertop impractical. In those cases, a planned seam can make delivery and installation much easier. Place seams where they are supported by cabinets and where they will be least noticeable, rather than treating them as an afterthought.
With butcher block, discuss grain direction and construction style early. The look of the wood, the orientation of boards, and the placement of a seam all affect the finished appearance. Solid wood also responds to seasonal humidity changes. A knowledgeable installer allows for proper expansion and uses fastening methods that let the top move naturally without splitting or bowing.
Measure doorways, stairwells, turns, and elevators if a large island top must travel through them. The countertop may fit the kitchen perfectly but still be difficult to carry into the house as one piece.
Send the details that make a custom quote accurate
A good measurement package includes your labeled sketch, finished length and depth for each piece, overhang dimensions, countertop thickness preference, cutout templates or specifications, and a few photos of the cabinet layout. Photos should show the full run, inside corners, exposed ends, and any obstacles near the walls.
At Tooill Cabinets, clear project details help turn a homeowner’s idea into a made-to-order wood surface built for the actual space. If a dimension is uncertain, say so. It is better to identify a question before fabrication than to force a finished countertop into a condition no one planned for.
Before approving final dimensions, walk through the sketch one last time with a tape measure in hand. Check every finished edge, every overhang, and every cutout reference point. Those extra ten minutes are often what separate a countertop that merely fits from one that looks like it was always meant to be there.