A wood countertop can look incredible on day one and still disappoint a year later if the finish is wrong. That usually comes down to one thing: people hear conflicting advice, pick the first product they recognize, and hope for the best. If you’re wondering how to seal wood countertops the right way, the answer depends on where the top will live, how hard it will be used, and whether you want easy touch-ups or stronger long-term protection.
Wood is a living material even after it’s milled and built into a countertop. It moves with humidity, absorbs spills if left exposed, and shows wear differently depending on species and grain pattern. A good sealer does not turn wood into plastic. What it does is slow moisture exchange, protect against stains, and make everyday cleanup much easier while still letting the natural character of the wood show through.
How to seal wood countertops based on real use
The biggest mistake is treating every wood top the same. A walnut island top in a low-splash prep area does not need the same finish strategy as a bathroom vanity, laundry room folding counter, or sink run that sees standing water. Before you buy anything, decide what kind of surface you actually have.
If the countertop is a true work surface that will see food prep, many homeowners lean toward food-safe oil-and-wax finishes. These are easy to refresh and maintain the natural feel of the wood, but they need regular reapplication. If the countertop is around a sink, in a bathroom, or in a busy kitchen where stain resistance matters more than the feel of raw wood, a film-building finish like polyurethane or a hardwax oil often makes more sense.
There is no universal best finish. There is only the best fit for your space.
Oil finishes vs film finishes
Penetrating oils soak into the wood rather than forming a thick coat on top. Mineral oil and oil-wax blends are common on butcher block cutting surfaces because they are simple to apply and easy to repair. The trade-off is maintenance. You’ll likely need to re-oil on a regular schedule, especially early on.
Film finishes sit more on the surface and create a stronger barrier. Water-based polyurethane, oil-based polyurethane, and some countertop-specific sealers fall into this category. These finishes usually offer better resistance to water rings, household spills, and daily wear. The trade-off is that scratches and worn spots can be more noticeable, and repairs may require sanding and recoating.
Hardwax oils sit somewhere in the middle. They penetrate and build a light protective layer at the same time. Many homeowners like them because they preserve a natural look better than heavy poly while giving more protection than plain mineral oil. They still require maintenance, but usually less often than a simple oil-only finish.
Choose the right sealer before you start
If your wood countertop will be used as a cutting surface, use a food-safe finish intended for direct food contact. In most cases, that means mineral oil or a butcher block oil-and-wax product. These are great for cutting boards and some butcher block tops, but they are not the strongest defense against standing water or coffee spills.
If your countertop is more of a decorative or light-prep surface, especially near sinks, many homeowners prefer a more durable sealer. Water-based polyurethane dries faster and usually stays clearer over time. Oil-based polyurethane can add warmth and amber tone, which some people love on woods like maple or oak, but it takes longer to cure and has a stronger odor.
Hardwax oil is a strong middle-ground option for people who want a hand-rubbed, natural look without signing up for constant upkeep. It works well on many kitchen islands, bathroom counters, and utility surfaces, as long as you follow the manufacturer’s cure times and maintenance guidance.
Match the finish to the wood species
The same sealer can look very different from one species to another. Maple can go slightly yellow or honey-toned under some finishes. Walnut often deepens beautifully with oil but may shift in color over time with UV exposure. White oak tends to handle moisture well, but the wrong finish can still leave it vulnerable at seams and around sink cutouts.
Always test on a sample or an underside area if possible. That one small step can save you from ending up with a color or sheen you did not expect.
Prep matters more than people think
A good finish starts long before the first coat. If the surface is dusty, greasy, uneven, or still carrying residue from a previous finish, the sealer won’t bond or perform the way it should.
Start by making sure the countertop is clean and fully dry. If it’s unfinished wood, sand it smooth, usually into the 180- to 220-grit range depending on species and finish type. Sanding too coarse can leave visible scratches under the final coat. Sanding too fine can reduce how well some oils penetrate.
Vacuum the dust, then wipe with a clean lint-free cloth. For film finishes, many woodworkers follow with a tack cloth or the appropriate prep wipe recommended for the product. Be careful not to flood the surface with water during cleanup. You’re sealing wood, not soaking it before the finish goes on.
If you’ve ordered a handcrafted top from a custom shop, ask whether it arrives raw, pre-sanded, or pre-finished. That matters. At Tooill Cabinets, for example, the finish approach should match how the piece will be used, not just how it looks in a product photo.
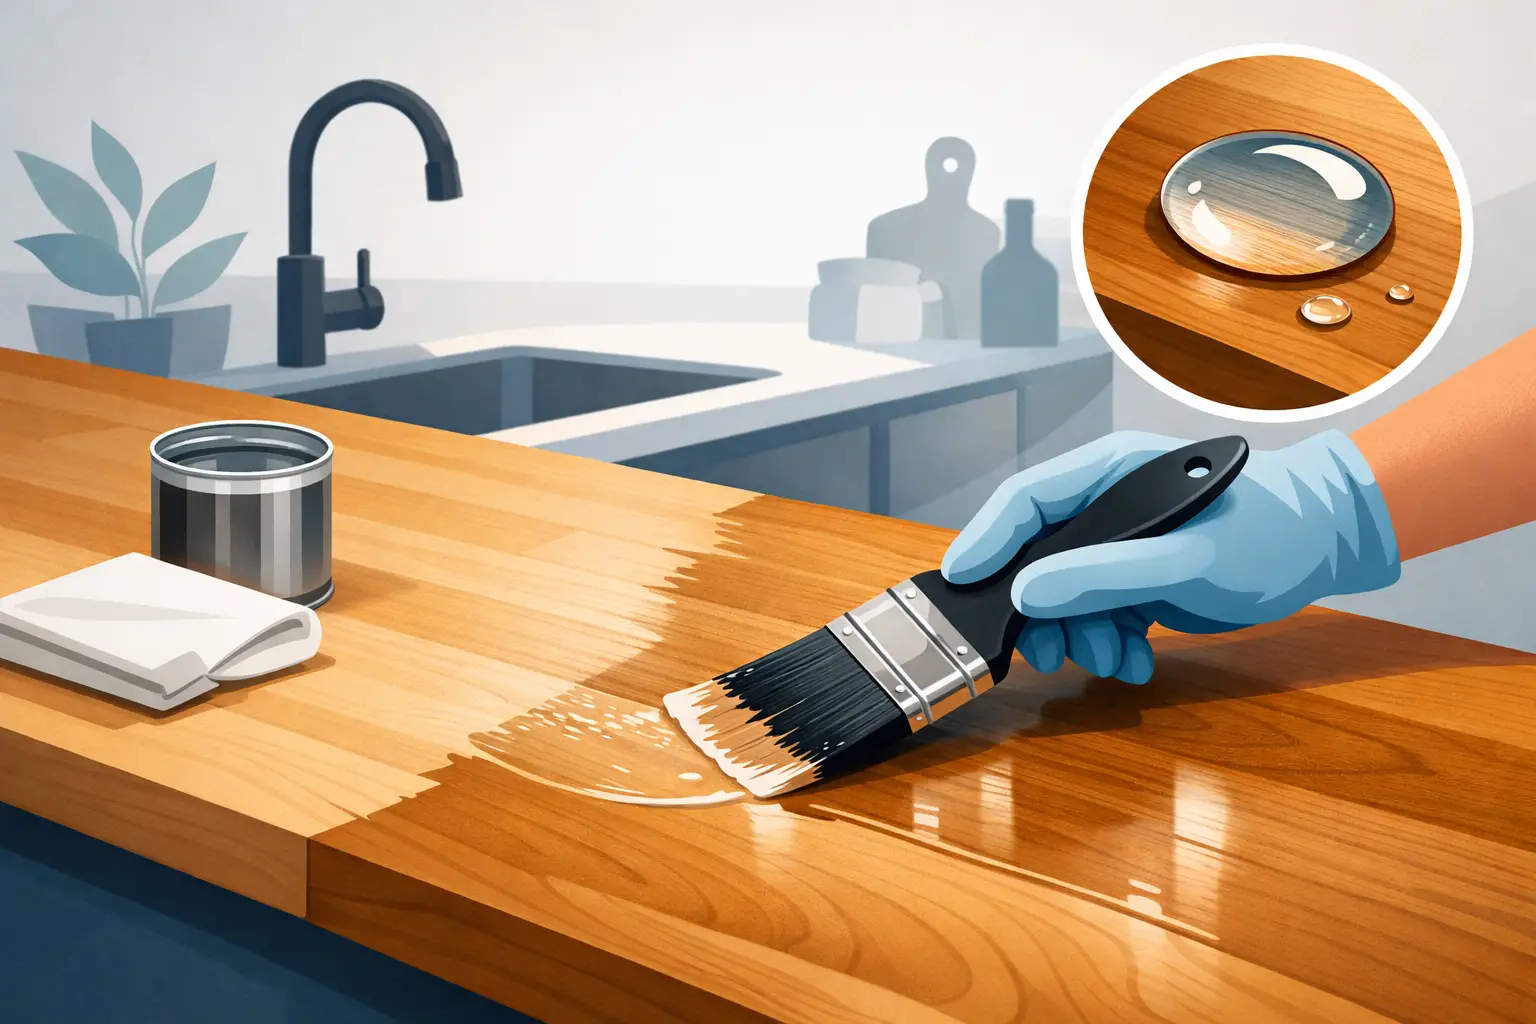
How to apply sealer without creating problems
Read the product instructions first, then follow them closely. That sounds obvious, but cure times, recoat windows, and application methods vary a lot between finishes.
For oil finishes, apply a generous coat with a clean cloth, let it soak in, and wipe away the excess. Do not leave puddles sitting on the surface. Excess oil can turn sticky instead of curing properly. Most tops need multiple coats at the beginning, especially dry or porous wood.
For polyurethane or similar sealers, use a high-quality brush, foam applicator, or pad recommended by the manufacturer. Apply thin, even coats. Thick coats are more likely to drip, trap bubbles, or cure unevenly. Lightly sand between coats if the product calls for it, then remove dust before the next coat.
Do not forget the underside, edges, and sink cutouts. You do not always need the same number of coats underneath as you do on top, but sealing all faces helps the wood respond more evenly to changes in humidity. That can reduce movement issues over time.
Dry time is not the same as cure time
A countertop can feel dry to the touch and still be far from ready for heavy use. This is where people ruin a good finish. They set appliances back in place, wipe the top with water, or use it for food prep too soon.
Dry time means the surface is no longer wet. Cure time means the finish has hardened enough to perform as intended. Depending on the product, full cure may take days or even weeks. Respect that window. It is one of the easiest ways to get better long-term results.
Common sealing mistakes to avoid
Most finish failures are predictable. Applying sealer over dust, skipping edge coverage, or rushing cure time are high on the list. So is choosing a finish based only on whether it says food safe, without thinking about water exposure or maintenance.
Another common problem is assuming more coats automatically means better protection. Sometimes they do. Sometimes they just create a thicker film that is more likely to show damage or peel if the prep was poor. Build the finish according to the product system, not by guesswork.
And if the top surrounds a sink, faucet, or soap dispenser, pay special attention to those penetrations. Water usually gets in at the vulnerable spots first, not the broad center of the countertop.
Caring for sealed wood countertops
Once the top is sealed, maintenance should match the finish you used. Oil-finished surfaces need periodic refreshing. A quick water-drop test helps: if water no longer beads and starts soaking in, it’s time for another coat.
Film-finished surfaces need gentler cleaning than many people expect. Avoid abrasive pads and harsh chemical cleaners. Use a mild soap and damp cloth, then wipe dry. Do not let puddles sit near seams, backsplashes, or sink edges.
For hardwax oil finishes, spot maintenance is one of the biggest advantages. Small worn areas can often be cleaned, lightly abraded, and refreshed without refinishing the whole top. That can be a major plus in busy homes where countertops need to look good and hold up without becoming a high-maintenance project.
When resealing is better than refinishing
Not every dull spot means the countertop is failing. If the wood still feels sound and there is no deep black staining, widespread water damage, or peeling film, a maintenance coat may be enough. That is especially true for oil and hardwax oil systems.
Full refinishing usually makes sense when the original finish is breaking down unevenly, moisture has gotten into the wood, or the surface has accumulated damage that cleaning and touch-up work cannot solve. If you’re caught between the two, the condition around the sink and front edge usually tells the story fastest.
A well-built wood countertop rewards the right finish. Seal it with the way you actually live in mind, give it time to cure, and you’ll end up with a surface that looks handmade because it is – not because it feels unfinished.