
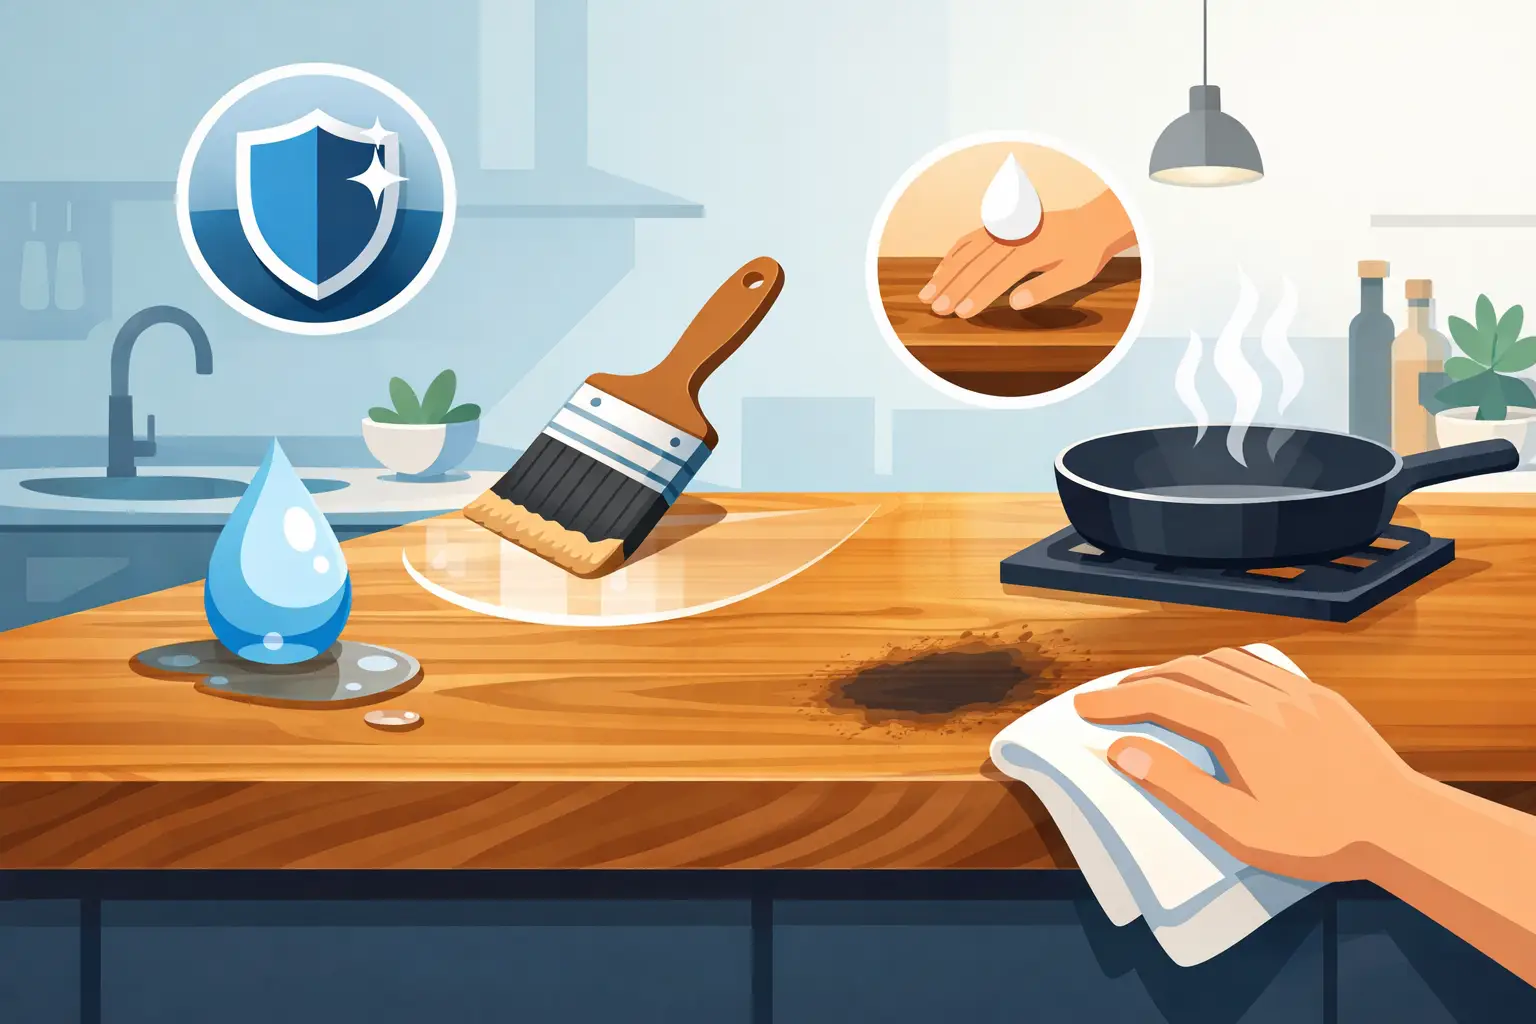
A solid wood island top earns its character in the kitchen: morning coffee, weeknight prep, school projects, serving platters, and all the small moments that make a house feel lived in. Knowing how to protect a wood island top means building a simple care routine around those real uses, not treating the surface like a museum piece.
Wood is durable, repairable, and naturally beautiful, but it responds to moisture, heat, and neglect. The right finish and a few daily habits will help your island top resist stains and wear while allowing the grain to remain the focal point of the room.
Start With the Right Finish
The finish is your first line of defense. Before choosing one, decide how the island will be used. A surface used mainly for seating, serving, or folding laundry can use a durable film-forming finish. A top used for food preparation needs a food-safe, easy-to-renew oil-and-wax system instead.
For a decorative or general-use wood island top, a quality polyurethane, conversion varnish, or hardwax oil provides strong protection from everyday moisture, fingerprints, and light spills. Film finishes create a protective layer on top of the wood. They are especially practical for busy family kitchens because they require less frequent maintenance once fully cured.
Hardwax oil penetrates into the fibers while leaving a natural-looking protective finish at the surface. It is a good choice for homeowners who want to feel the texture of real wood rather than a thicker coating. Its trade-off is that it needs occasional refresh coats, particularly around sinks, stools, and the areas where hands rest most often.
If the island will double as a cutting or chopping surface, use a food-safe mineral oil followed by board wax or a butcher block conditioner. Do not use polyurethane on a surface you plan to cut on. Oil finishes are food-safe and easy to spot-repair, but they are not a one-and-done solution. They need regular conditioning to keep the wood from drying out and absorbing moisture.
Whatever finish you choose, follow the product’s cure time, not just its dry time. A top may feel dry within hours but need days or weeks to fully harden. During that period, keep heavy appliances, wet containers, and hot serving dishes off the surface.
Protect a Wood Island Top From Water
Water is not automatically a problem. Standing water is. A quick wipe after washing dishes or prepping produce is usually all it takes to prevent water marks, raised grain, and dark staining around the sink side of an island.
Keep a soft, absorbent towel nearby and wipe up spills as they happen. Pay close attention to seams, end grain, and the area around a faucet or dishwasher. End grain can pull in moisture more quickly than face grain, which is why a properly finished wood top should be sealed on every surface, including the underside and edges.
Avoid leaving wet dish towels, damp sponges, dripping planters, or cold drink glasses directly on the wood. Condensation rings can penetrate even a well-finished top if they sit long enough. Coasters, trivets, and a small tray for hand soap or dish brushes are simple additions that prevent a surprising amount of damage.
Humidity matters, too. Wood expands when it takes on moisture and contracts when the air becomes dry. Normal seasonal movement is expected, especially in homes with distinct summer and winter conditions. Keep indoor humidity as steady as practical, and make sure the island top was installed with hardware or fasteners that allow the wood to move naturally. Screwing a solid wood top rigidly to a base can lead to splitting or warping over time.
Use Heat and Impact Protection Every Day
A wood island top is strong, but it is not meant to take direct heat from cookware. Set hot pans, Dutch ovens, baking sheets, slow cookers, and air fryers on a trivet or heat-resistant mat. Heat can discolor a finish, leave a cloudy mark, or cause a sudden change in moisture that stresses the wood.
For everyday prep, use cutting boards rather than cutting directly on a finished island top. This protects both the finish and your knives. If your island has an oil-finished butcher block work area designed for cutting, that is different – but even then, a separate cutting board can reduce cleanup and limit deep knife marks in high-use zones.
Do not drag heavy appliances, ceramic serving pieces, or cast iron across the surface. Lift them instead. Felt pads under countertop appliances, décor, and stool backs can prevent scratches that slowly dull a carefully finished top.
Clean Gently, Not Aggressively
Harsh cleaners are one of the fastest ways to shorten the life of a wood finish. Skip bleach, ammonia, oven cleaner, abrasive powders, and strong degreasers unless the finish manufacturer specifically approves them. These products can strip protective oils, dull the sheen, or leave the wood looking patchy.
For routine cleaning, use a soft cloth lightly dampened with warm water and a small amount of mild dish soap. Wipe again with a clean damp cloth if needed, then dry the surface right away. The goal is to clean the top without soaking it.
For sticky residue, let a warm damp cloth sit over the spot briefly, then wipe it away. A plastic scraper can help with dried food or waxy buildup, but use a light hand and keep the edge flat against the surface. Avoid metal scrapers and steel wool, which can scratch the finish and leave tiny metal particles behind.
If your top has an oil-and-wax finish, choose a cleaner made for that finish system. If it has a film finish, a mild soap-and-water routine is usually enough. Mixing random cleaners, oils, and polishes can create a cloudy buildup that is harder to remove than the original mess.
Refresh the Finish Before the Wood Looks Dry
The best maintenance happens before the island top looks thirsty. On an oil-finished surface, watch for dull patches, water that stops beading, lighter areas near the sink, or a rougher feel in frequently used spots. Those are signs the protective oil needs to be renewed.
For most oil-finished wood island tops, apply conditioner when the surface looks dry rather than following a rigid calendar. A busy prep surface may need attention every few weeks at first. A lightly used island may only need it a few times a year. Apply a thin coat, let it absorb according to the product directions, and buff away all excess. Leaving pooled oil behind can create a sticky finish.
Hardwax oil surfaces can often be refreshed with a maintenance oil or a thin recoat after a thorough cleaning. Film finishes generally last longer, but once they are deeply scratched or worn through, they may need sanding and refinishing rather than a simple touch-up. That is the trade-off for their stronger day-to-day barrier.
Address Stains and Scratches Early
Small scratches are normal in a working kitchen, and solid wood gives you options that laminate or stone do not. The repair method depends on the finish. Light scratches in an oil or hardwax oil finish can often be cleaned, lightly sanded in the direction of the grain, and re-oiled. Deeper damage may need more sanding, but it is usually localized.
Dark water marks, burn marks, or stains that have entered bare wood are more involved. Start gently and test any method in an inconspicuous area. Do not pour household chemicals onto the top in an attempt to bleach out a stain. If the damage is extensive, sanding and refinishing the affected section may be the cleanest solution.
A custom solid wood top is built for a long life, not for perfection on day one. The patina that develops from careful use can add warmth and depth. The goal is to prevent preventable damage while keeping the surface useful for the way your family actually lives.
A Simple Protection Routine That Works
Daily care should take less than a minute: wipe spills, dry the surface, and use a trivet for anything hot. Weekly, clean with a mild soap solution and check the sink-side edge, seams, and corners for lingering moisture. Every few months, inspect the finish under bright light for dullness, scratches, or areas where water no longer beads.
When ordering a handcrafted island top, think about protection before installation. Share how you plan to use it, whether it will sit near a sink, and whether food prep will happen directly on the wood. That helps ensure the finish, construction details, and maintenance expectations fit the project from the start.
A wood island top does not ask for complicated care. Give it a suitable finish, keep water and heat from lingering, and refresh the protection when use calls for it. In return, it will keep showing up as one of the hardest-working and best-looking surfaces in your home.