
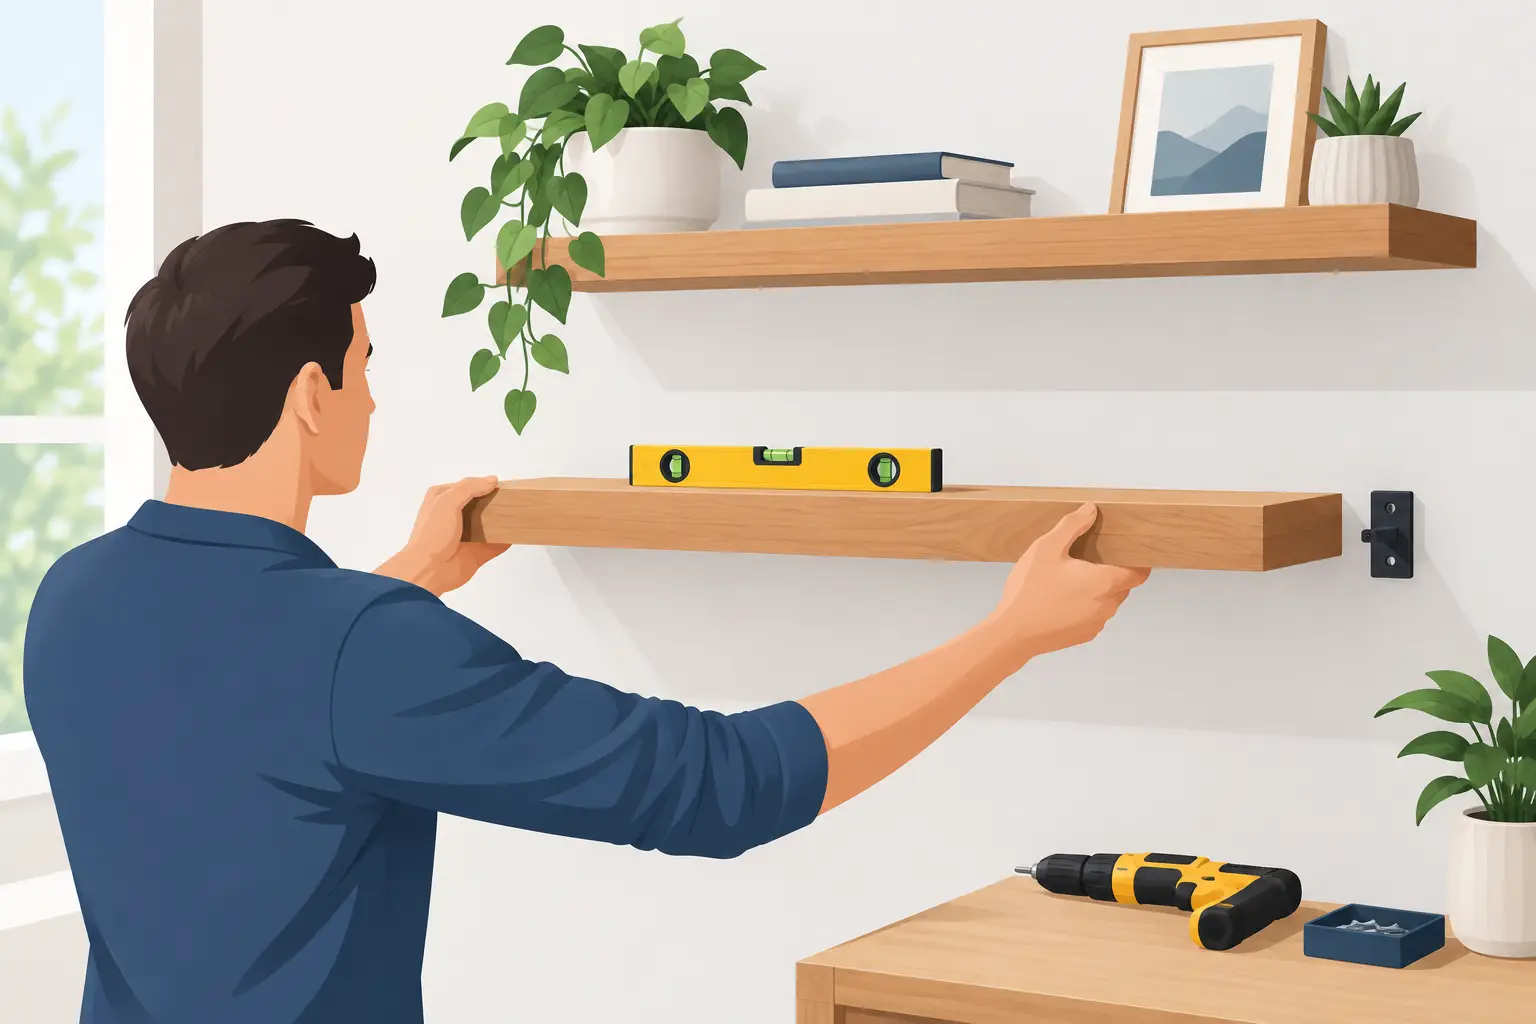
A floating shelf should look effortless, not fragile. When the shelf is solid hardwood and the bracket disappears into the wall, the finished result can make a kitchen, bath, office, or living room feel intentionally built rather than filled in. But floating shelf installation is less forgiving than hanging a framed picture. The wall structure, bracket system, shelf depth, and intended load all have to work together.
A well-made shelf deserves a mounting plan that matches its craftsmanship. Taking time to find framing, choose the right hardware, and lay out the shelf carefully is what keeps it level, secure, and beautiful for years.
Start With the Wall, Not the Shelf
The first question is not where the shelf will look best. It is what is behind the drywall. Floating shelves are strongest when their concealed bracket is fastened directly into wall studs or solid wood blocking. Drywall anchors can be useful for light decor, but they are not the right foundation for a heavy solid-wood shelf holding dishes, cookbooks, or pantry jars.
Use a quality stud finder, then confirm the stud location with a small pilot hole in an area that will be covered by the bracket. Studs are commonly spaced 16 or 24 inches on center, but older homes, remodeled walls, and plumbing chases do not always follow the expected pattern. A few extra minutes of checking prevents a frustrating surprise after the shelf is unpacked.
If the shelf location does not line up with studs, the best solution depends on the project. For a renovation in progress, add horizontal blocking between studs before drywall goes up. For a finished wall, a mounting board fastened across multiple studs can create a strong base, though it changes the clean flush-to-wall look. Heavy-duty toggle anchors may be appropriate for very light-duty shelves, but they should not be treated as a substitute for framing when substantial weight is involved.
Know what the shelf needs to carry
A narrow display shelf with a small plant and a few photos is a different job from an open kitchen shelf loaded with stoneware. Before choosing hardware, think honestly about the use. A shelf above a coffee bar may hold mugs, a grinder, and canisters. A bathroom shelf may see stacks of towels. An entry shelf can collect keys, bags, and the occasional hand placed on it for balance.
Shelf depth matters, too. The farther a shelf projects from the wall, the more leverage it puts on the mounting system. Deep shelves need longer concealed rods or a purpose-built bracket with enough support to resist sagging and forward pull. This is one reason custom sizing is valuable: a shelf can be built for the actual wall, the actual items it will hold, and the proportions of the room instead of asking a standard retail size to do every job.
Choose Hardware for the Actual Floating Shelf Installation
Most true floating shelves use a concealed steel bracket or steel support rods that slide into holes bored into the back of the shelf. The bracket mounts to the wall first; the shelf then slides over it and is secured with set screws or small fasteners from the underside, depending on the design.
The hardware and shelf must be designed as a pair. A solid wood shelf has natural weight before anything is placed on it, especially in thicker material or longer lengths. It needs a bracket rated for the span and load, along with enough rod length and diameter to support the shelf body. Do not assume a generic hidden bracket will fit every shelf. The drilled holes, rod spacing, back thickness, and mounting plate all need to match.
For custom hardwood shelves, it is wise to confirm the mounting method before the shelf is built. That allows the maker to prepare the shelf accurately for the selected hardware and lets you plan around studs, outlets, backsplash height, and nearby cabinets. At Tooill Cabinets, custom work is about more than getting the right length. Details like thickness, depth, finish, and intended use help shape a shelf that belongs in the space.
Avoid mixing random hardware components from different systems unless their dimensions have been verified. A rod that feels close in size can split wood during installation, fit loosely enough to let the shelf move, or leave the shelf unable to sit flush against the wall.
Lay Out the Height Before You Drill
A shelf can be securely installed and still feel wrong if the placement is off. Use painter’s tape to mark the planned top and bottom edges of the shelf. Stand back from the room, check it from the doorway, and consider what will sit above and below it.
In a kitchen, leave enough clearance above a countertop for appliances, backsplash cleaning, and the items you plan to display. Above a desk, make room for a monitor or task lighting. In a bathroom, make sure the shelf does not interfere with a mirror, faucet reach, or door swing. When installing multiple shelves, measure from the same reference point and use a story pole or marked board so the spacing stays consistent.
Once the layout looks right, use a long level to draw the bracket line. Do not rely on a countertop, ceiling, or tile line being level. Houses settle, tile layouts vary, and visual references can be deceptive. The bracket itself must be level because the shelf will follow it exactly.
Keep the grain and finish in mind
Wood shelves bring warmth because no two boards have identical grain, color variation, or character. Before mounting, decide which face and edge should be visible. This is especially useful with shelves that have a live edge, prominent knots, or carefully selected grain.
Give the shelf time to acclimate indoors if it arrived from a different climate or has been stored in a garage. Solid wood responds to changes in humidity, and a conditioned indoor environment is where it will live. Do not install a shelf that feels damp from delivery or expose it to direct water during a remodel. In kitchens and baths, wipe spills promptly and use the finish care recommended for the shelf.
Install the Bracket With Care
Hold the bracket on the level line and mark every mounting hole. Pre-drill into studs with a bit sized for the structural screws being used. Pre-drilling makes driving screws easier and reduces the chance of splitting framing lumber. Use screws long enough to pass through the bracket, drywall, and well into the stud, but verify what may be inside the wall before drilling deeply near electrical boxes, plumbing, or switches.
Fasten the bracket firmly, checking for level again before fully tightening the final screws. If the bracket has multiple rods, confirm they project straight out from the wall. Even a slight alignment issue can make the shelf difficult to slide on or prevent it from seating flush.
With a helper for longer or heavier pieces, slide the shelf straight onto the rods. Do not force it. If it stops short, pull it back off and inspect the rod alignment, drilled holes, and any debris inside the shelf. Forcing a hardwood shelf can damage the wood or bend the hardware.
After the shelf is seated, install any included locking screws from the underside. These small details matter. They prevent the shelf from shifting forward when someone bumps it or when items are moved around on top.
Test It Before You Style It
Before loading the shelf with your favorite dishes or decor, inspect the installation closely. The shelf should sit flush to the wall, remain level, and show no side-to-side movement. Apply gentle downward pressure near the front edge. There should be no creaking, pulling, or visible movement at the wall connection.
Load the shelf gradually rather than placing everything on it at once. Put heavier items closer to the wall where the bracket provides the most support, and distribute weight across the span. This is good practice even with properly rated hardware. A row of evenly spaced bowls is easier on a shelf than a dense stack of cookware concentrated at one end.
Check the installation again after the first week, particularly in a high-use kitchen or busy family space. A shelf that stays firm, level, and flush has done its job. If you notice movement, remove the load and correct the mounting issue before it becomes wall damage or a damaged shelf.
A floating shelf is at its best when the craftsmanship disappears into daily life: coffee mugs within reach, cookbooks off the counter, a favorite piece of pottery catching the light. Build and install it with that real use in mind, and the clean, open look will have the strength to match.